After finishing my first temperature blanket, I was restless — I hadn’t even completed it before I was already planning the next one. The 2024 edition was a huge success. Not only my family, but also my friends admired my temperature blanket. So, encouraged by all this positive feedback, I started looking at patterns and colors by the end of the year, ready to dive into the next big project. One thing was certain: this year’s blanket would be for my son, serving as a bedspread. There were countless possibilities and color combinations, making it a tough decision to determine the final design of the new blanket.

Photo: Own (Rebeka Novák-Szabó ev)
Temperature blanket for Endre – 2019
Since this year’s blanket was for my son, the year was already set: his birth year, 2019. Choosing the colors proved to be a tougher nut to crack; I spent days selecting, arranging, and rearranging the color samples, and adjusting the temperature ranges, until I could present Endre with two options. One was a classic temperature blanket color combination, and the other was a gray-to-dark-blue gradient, which he ultimately chose. Meanwhile, I also came up with the pattern, inspired by a piece showcased in an international temperature blanket group. I will assemble my blanket from granny squares, with each square representing a single day. Originally, I wanted the inner part of each square to show the day’s lowest average temperature and the outer part the highest. However, due to the extensive amount of yarn weaving this would require, I discarded that version. I was worried that if I went with it, I would never finish, so I had to make a bit of a compromise.
The biggest challenge was choosing the specific yarns. I tried to convince my child to pick a different type of yarn — based on last year’s experience — but he was adamant. He wanted chenille. I gave in, since I’m planning to make a blanket for him that will not only accompany his childhood but, hopefully, will also become a cherished part of his home as an adult, offering comfort and a sense of security. I imagine him cozying up under it on a gloomy day with a warm cup of tea. For that reason, it was important to me that the blanket be exactly what he wanted.
However, this is where the real challenges began. I didn’t want to mix brands within the blanket, knowing that yarns of the same type but from different brands, even with the same specifications, can vary in thickness and final appearance. This made selecting the colors quite tricky. Within a single brand, there weren’t enough shades to create a smooth gray-to-blue gradient, so I had to compromise here as well. My son’s original idea was for a blanket entirely in shades of blue, but I convinced him that, in my opinion, no chenille yarn manufacturer produces nine distinct shades of a single color. Even if we included black and white in the scale, the problem would remain: due to the warm and cool tones of the colors, some would clash, or some would be so close in shade that the essence of the blanket wouldn’t stand out.
So, we stuck with this idea, and in the end, I received help with the color selection at the local Fonalam.hu store. The salesperson was very kind and helpful; we arranged the yarns side by side until we came up with a beautiful sequence of 11 skeins. Originally, we included a beige yarn, but I eventually discarded it, replacing it with black and positioning it in the spot of the coldest color. At home, I felt that the beige stood out too much with its warmth, so it was better to leave it out.
Information and Specifications of This Blanket
Yarns, tools and temperature ranges
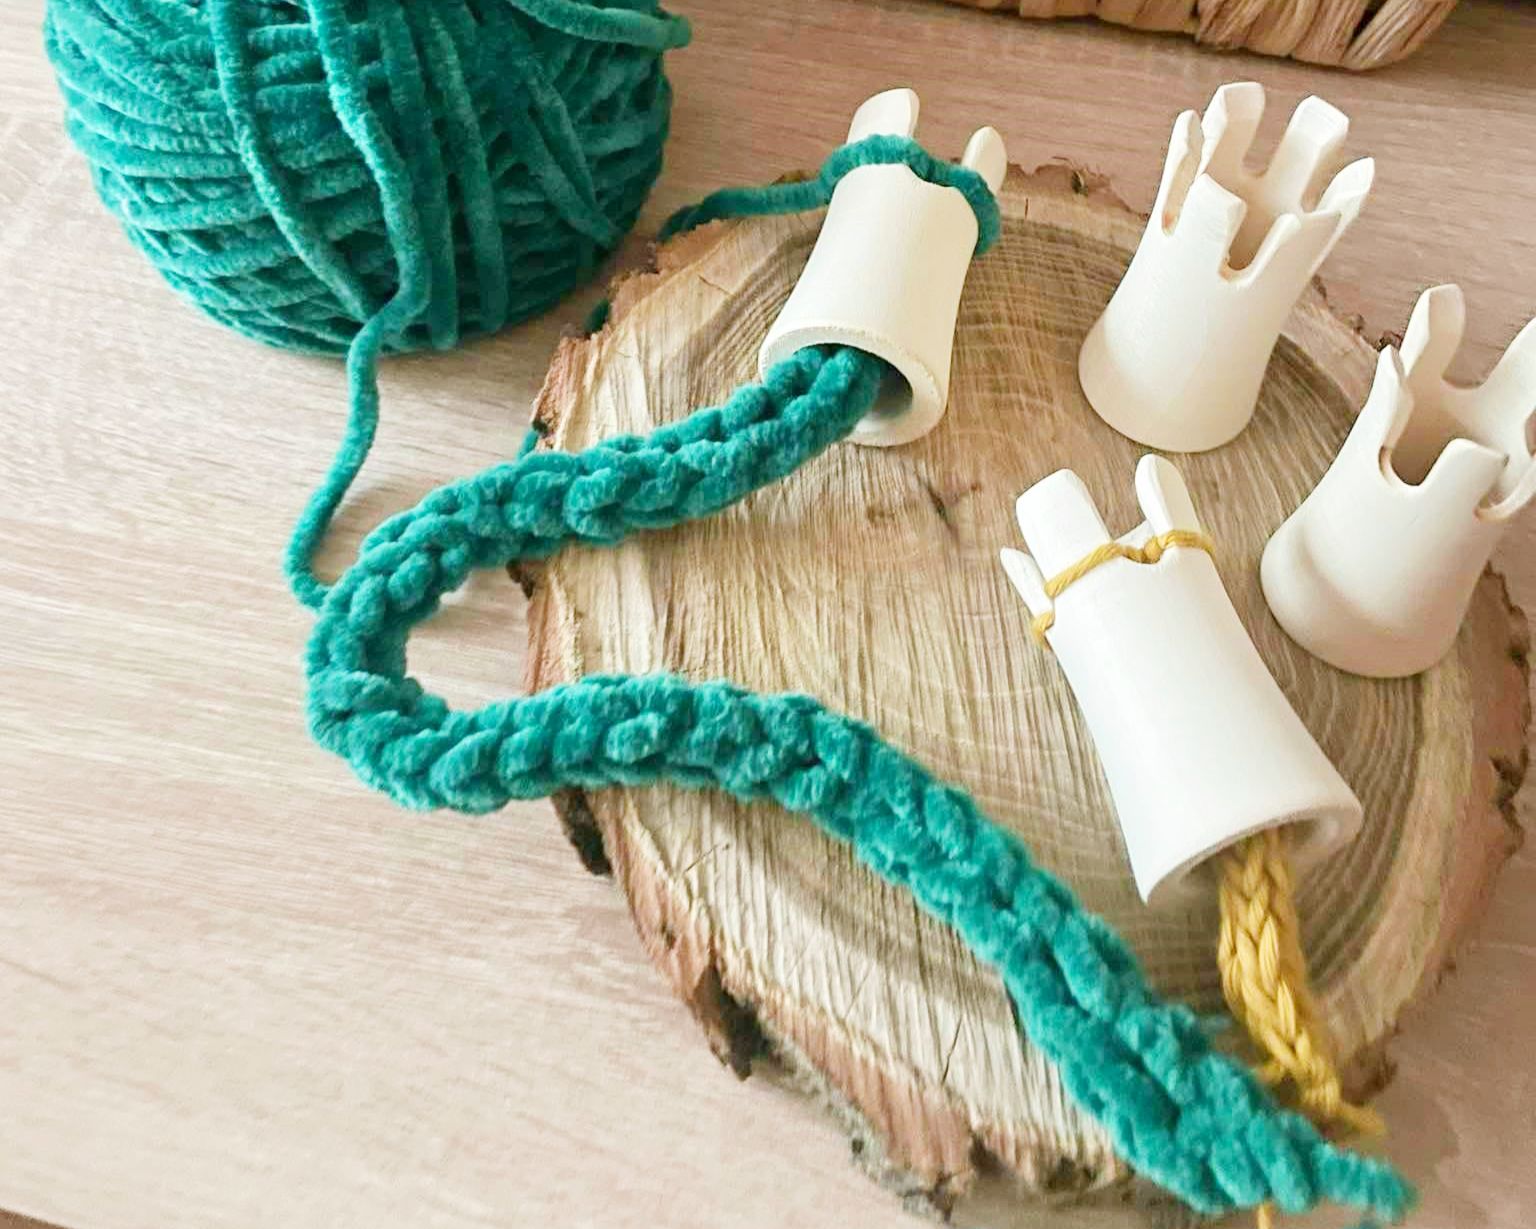
To make the temperature blanket, I used chenille yarns: Himalaya Dolphin Baby and Wolans Bunny Baby. My crochet hook size is 5 mm. In addition, I will need a plastic needle — I prefer this type for chenille — for assembling the squares.
The temperature ranges were based on the daily average temperatures, with the colors changing every 3 °C.
26 °C and above: Himalaya Dolphin Baby 80321
Between 23°C and 25°C: Himalaya Dolphin Baby 80341
Between 20°C – 22°C: Himalaya Dolphin Baby 80327
Between 17°C and 19°C: Himalaya Dolphin Baby 80306
Between 14°C -16°C: Himalaya Dolphin Baby 80347
Between 11°C and 13°C: Wolans Bunny Baby 03
Between 8°C and 10°C: Himalaya Dolphin Baby 80363
Between 5°C and 7°C: Himalaya Dolphin Baby 80325
Between 2°C and 4°C: Himalaya Dolphin Baby 80320
Between 1°C and -1°C: Himalaya Dolphin Baby 80367
-2°C and below: Himalaya Dolphin Baby 80311
First I generated the mytemperature-blanket.com I used it to visualize what my blanket would look like, and then I created colored squares in Excel with the days marked on them, so I could get an accurate picture of what the blanket would look like.
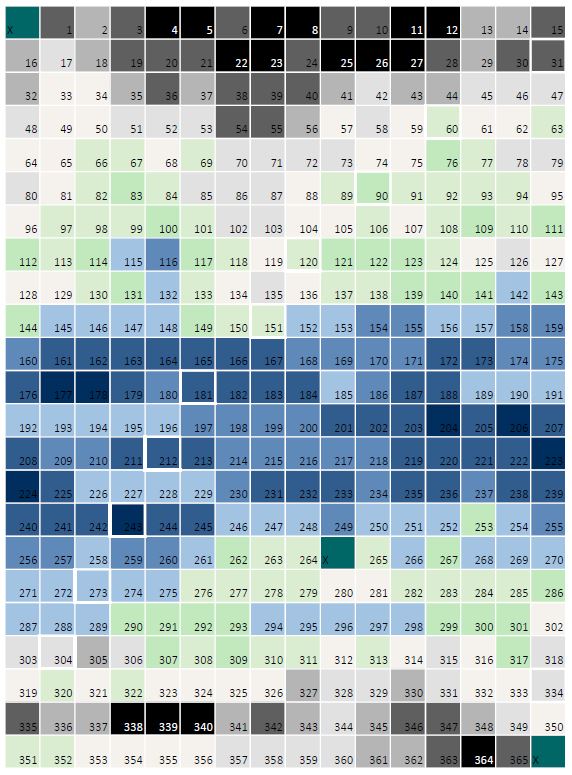
Illustration: Endre's blanket – 2019. Own (Rebeka Novák-Szabó ev)

Illustration: Granny squares that make up the quilt. Own (Novák-Szabó Rebeka ev)
legend: dc = a folded stick; hdc = half double crochet; ch = chain link; slst = slip stitch
Pattern of the blanket: granny squares
I am assembling my temperature blanket from granny squares, with each square representing a single day.
Granny square pattern:
R1: Start with a magic ring. Ch5. Crochet the following: [ 3dc + ch2 ]*3; 2dc; 1 slst in the beginning chains.
R2: inc(ch4; 3hdc + ch1); [ inc(3hdc + ch2 + 3hdc) + ch1 ]*3; 2hdc; 1 sl st in the beginning chains.
R3: inc(ch4; 3hdc + ch1); [ 3hdc + ch1; [ inc(3hdc + ch2 + 3hdc) +ch1 ]*3; 3hdc + ch1; 2hdc, 1 slst in the beginning chains.
The size of the granny square is 9 x 9 cm.
Planned blanket width: 16 squares, or 144 cm. Planned blanket length: 23 squares, or 207 cm. (I consider this size ideal for a bedspread.)
A total of 368 granny squares are needed to make the blanket. There were 365 days in 2019, so 3 extra squares are required.
One ball of yarn makes about 13-14 granny squares, I estimate that I will need 31-33 balls for the blanket and of course there will be a lot of leftover yarn that I can use to make the figures. The material cost is about 42-43 thousand HUF in 2025 prices.
I crochet one granny square in about 7–8 minutes, which means roughly 2,576–2,944 minutes are needed to complete the blanket. This amounts to a total of 43–50 hours of crocheting. In addition, there will be at least 12–16 hours required to sew the squares together and weave in the yarn ends.
Temperature blanket experiences and lessons learned
In August 2025, I bought my first 11 skeins of my favorite chenille yarn, Himalaya Dolphin Baby, and because of the shade, I also needed 1 skein of Wolans Bunny Baby. That's when I started crocheting my blanket square by square. By the end of 2025, I was making very good progress, I had crocheted about half of the squares, but I hadn't started sewing them together yet. I needed to crochet and sew 368 granny squares for my blanket, which means all the days of the year, 365 + 3. I hesitated a lot about what to do with those 3 days, but in the end, the first and last squares, as well as my son's birthday, got a different color. The rest went according to plan!
At first, the squares were made by the ball, because there was quite a lot of crocheting involved. I always reached for the color that I felt like doing. Then, at the beginning of 2026, I started sewing the blanket together row by row, using mattress stitch. I actually started it on New Year's Eve 2025, but it annoyed me so much that I had to put the sewing aside for 1-2 weeks. Sewing the first row together, and even figuring out which color is which and which is the reverse, was a complete disappointment. It's no coincidence that sewing is every crocheter's nightmare...and this blanket has it all! While piecing it together, I realized that attaching a square to the blanket takes just as much time as crocheting it, so I had underestimated the time it would take to make it...according to my calculations, it took about 100 hours to make the whole thing, which is a lot when you think about it! Crocheting a granny square takes 7-8 minutes and sewing it on takes the same amount of time. This includes, of course, working the threads.
So, I switched from crocheting by ball to crocheting by row at the beginning of the year and sewed it all together in between. By March, all the squares were finished, and since then the squares have been resting on my little skewers waiting to be sewn together. Specifically, I put together the blanket this way for 4 months, with smaller and larger breaks. I vowed that I wouldn't crochet anything else until the blanket was finished, and I only broke that promise once, when I got carried away and crocheted a really quick fish.
I would like to share my experiences with sewing. At first, I was sewing and thought I would work the threads at the end of the row, which didn't turn out to be a very good idea. I worked the threads very slowly, it took an outrageous amount of time. In addition, at first I tied the thread ends left over from the initial round with the ones left over from sewing and worked them together. It took a lot of time, so I gave up on this extra safe version. In the end, I stuck with working the threads separately and did it after every stitch, because I felt much more comfortable that way. Also, the Wolans Bunny Baby yarn hindered my progress with sewing. It's simply horrible how the whole thing unravels while sewing. It annoyed me so much that I'm saying I'm making a video about it. The beautiful colors are useless if this yarn is simply useless for this. Interestingly, Himalaya didn't, or only occasionally behaved like this, not always. It was a relief when I could sew up the last one, knowing that there wouldn't be any more.
In conclusion, I will never make a granny square blanket out of chenille again, but what surprised me was that I actually liked sewing it. Sometimes I almost felt like I was turning it off, like crocheting itself, but maybe that was just because of my withdrawal symptoms. By the way, the blanket turned out beautiful, it was totally worth the effort, even if I wouldn't do it again. I really like the whole color scheme and concept, I'm glad I got into it and saw it through. What's a bit disappointing is that after sewing it together, the squares shrunk a lot, so the size - without washing or blocking - was nowhere near as big as I expected. It only came out 167×125 cm, which is well below my expectations. It's 40 cm shorter, which I don't know if blocking and stretching during use can be made up for. It will probably catch up with time, but I will have to settle for this size for now. I will do a blocking after washing to see if we can reach at least 180-190 cm. My calculations probably went wrong, I didn't take into account the loss during sewing, which is why it ended up being so much less. It doesn't really matter, because it wouldn't have gotten more rows anyway, because it already weighs 3.5 kg, which is already quite heavy.