Some people can read crochet patterns quickly and easily recognize their logic, but some people need more time to learn how to read written crochet patterns. In this article, I would like to provide beginner crocheters with a little crutch for pattern reading through my own examples, as well as provide more experienced crocheters with a little mathematical interest, which may be useful later even when testing a crochet pattern.
The topic of the article was primarily inspired by the cries for help found in countless Facebook groups, where either English or Hungarian beginner crocheters desperately ask the members of the crochet community for help in learning how to read the crochet pattern.

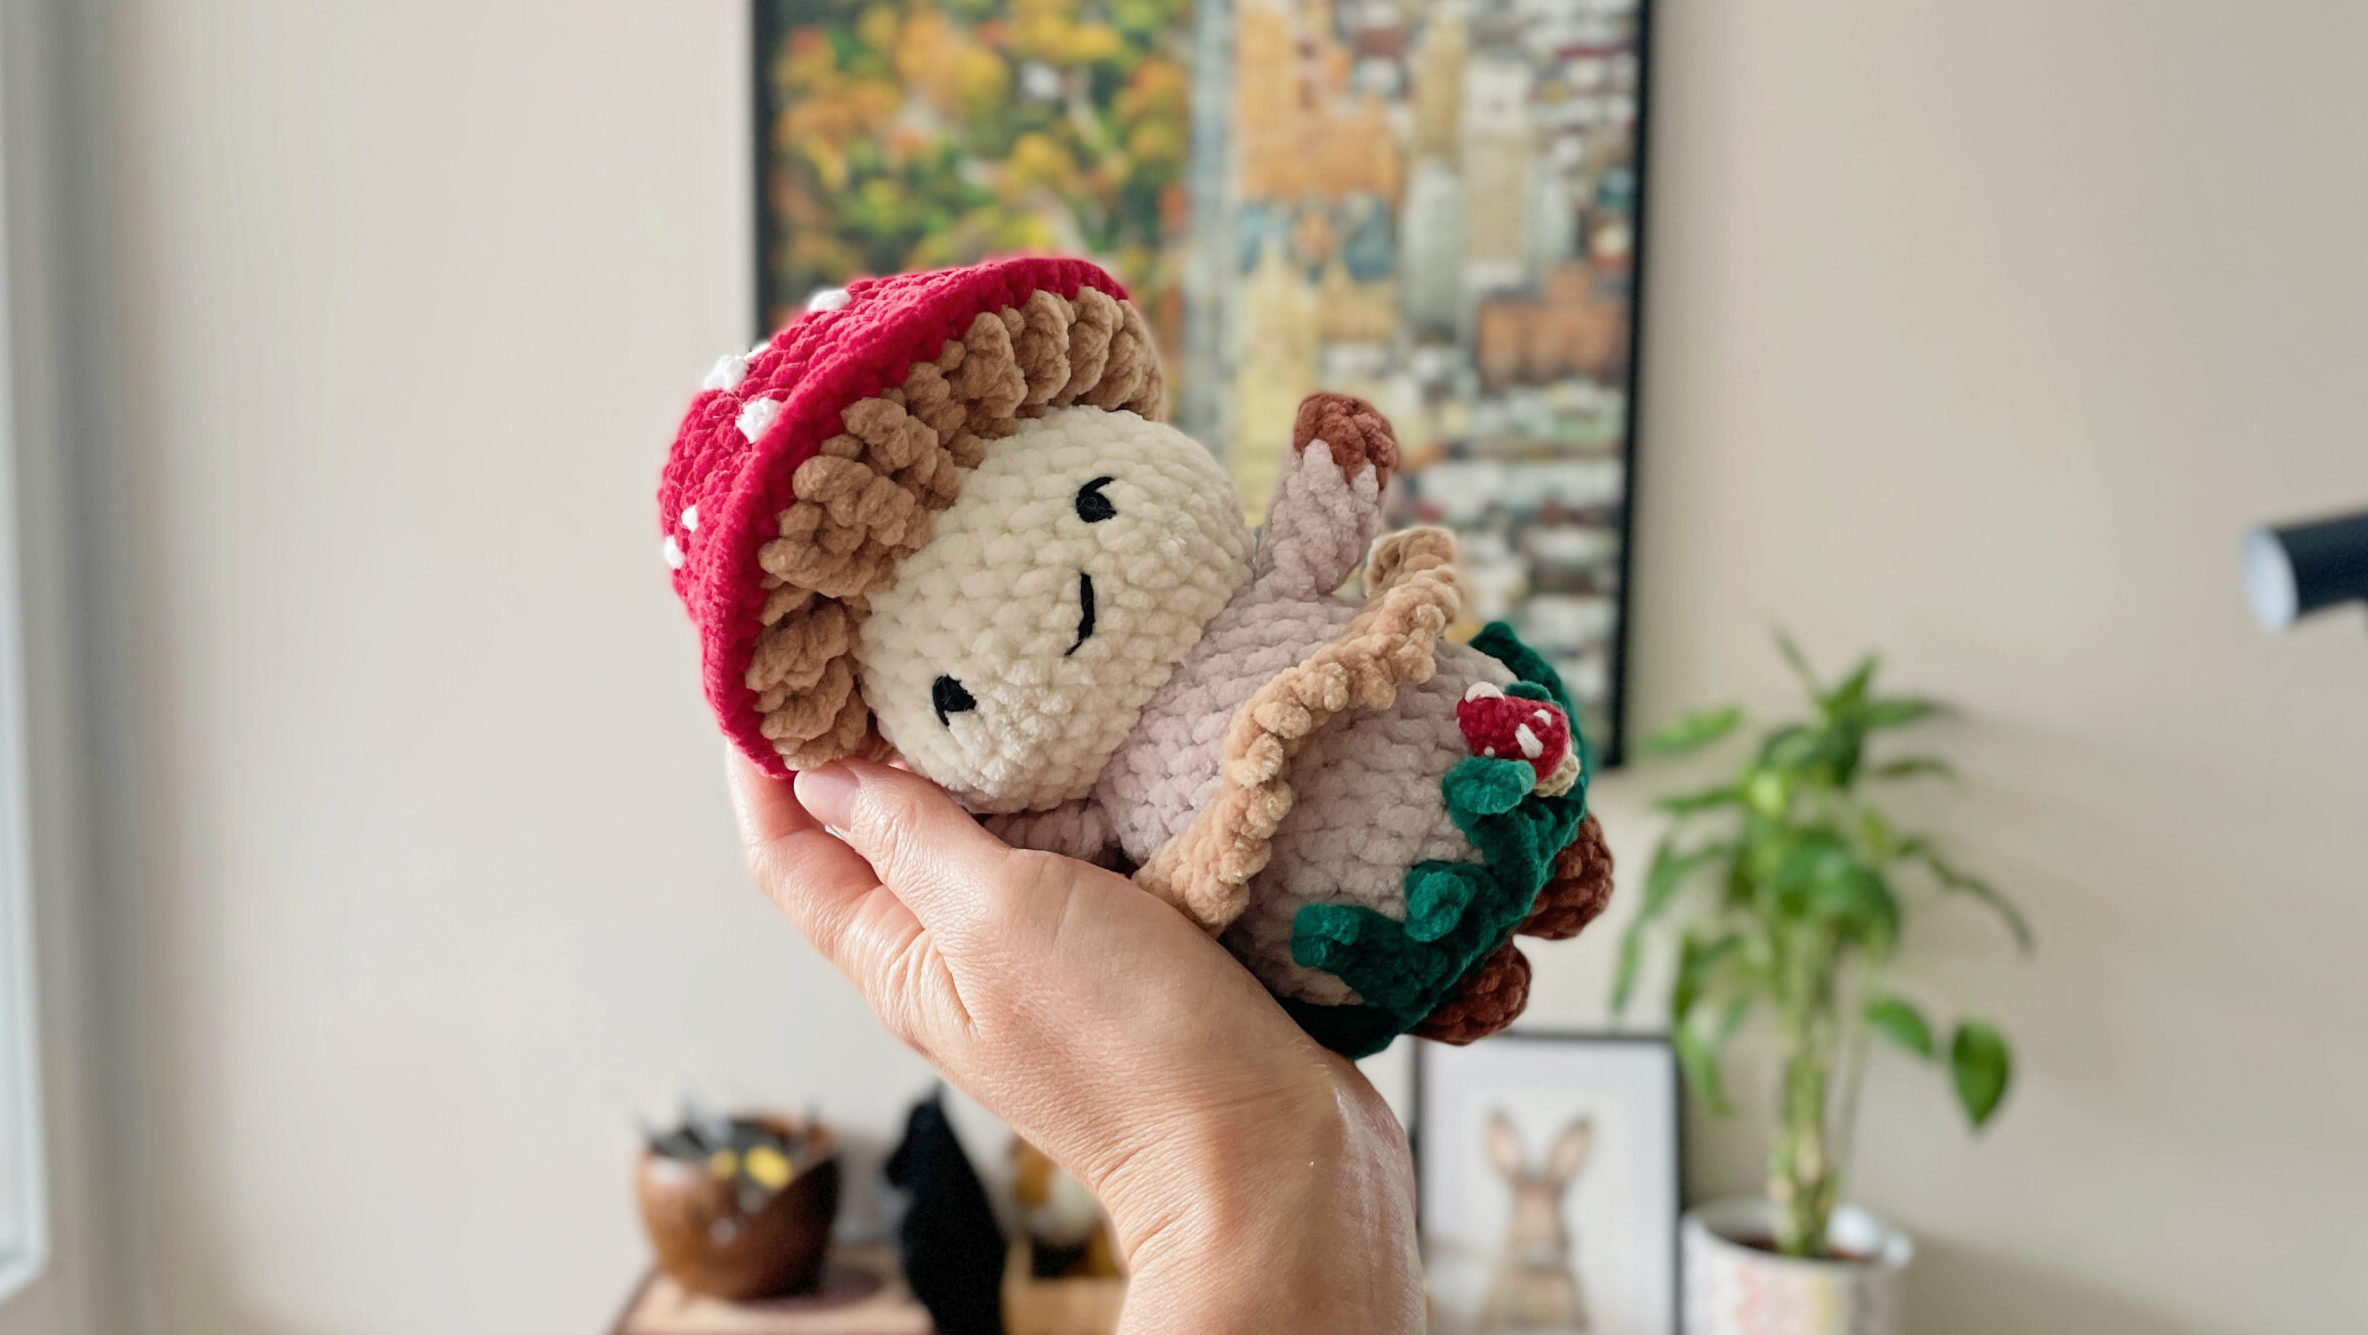
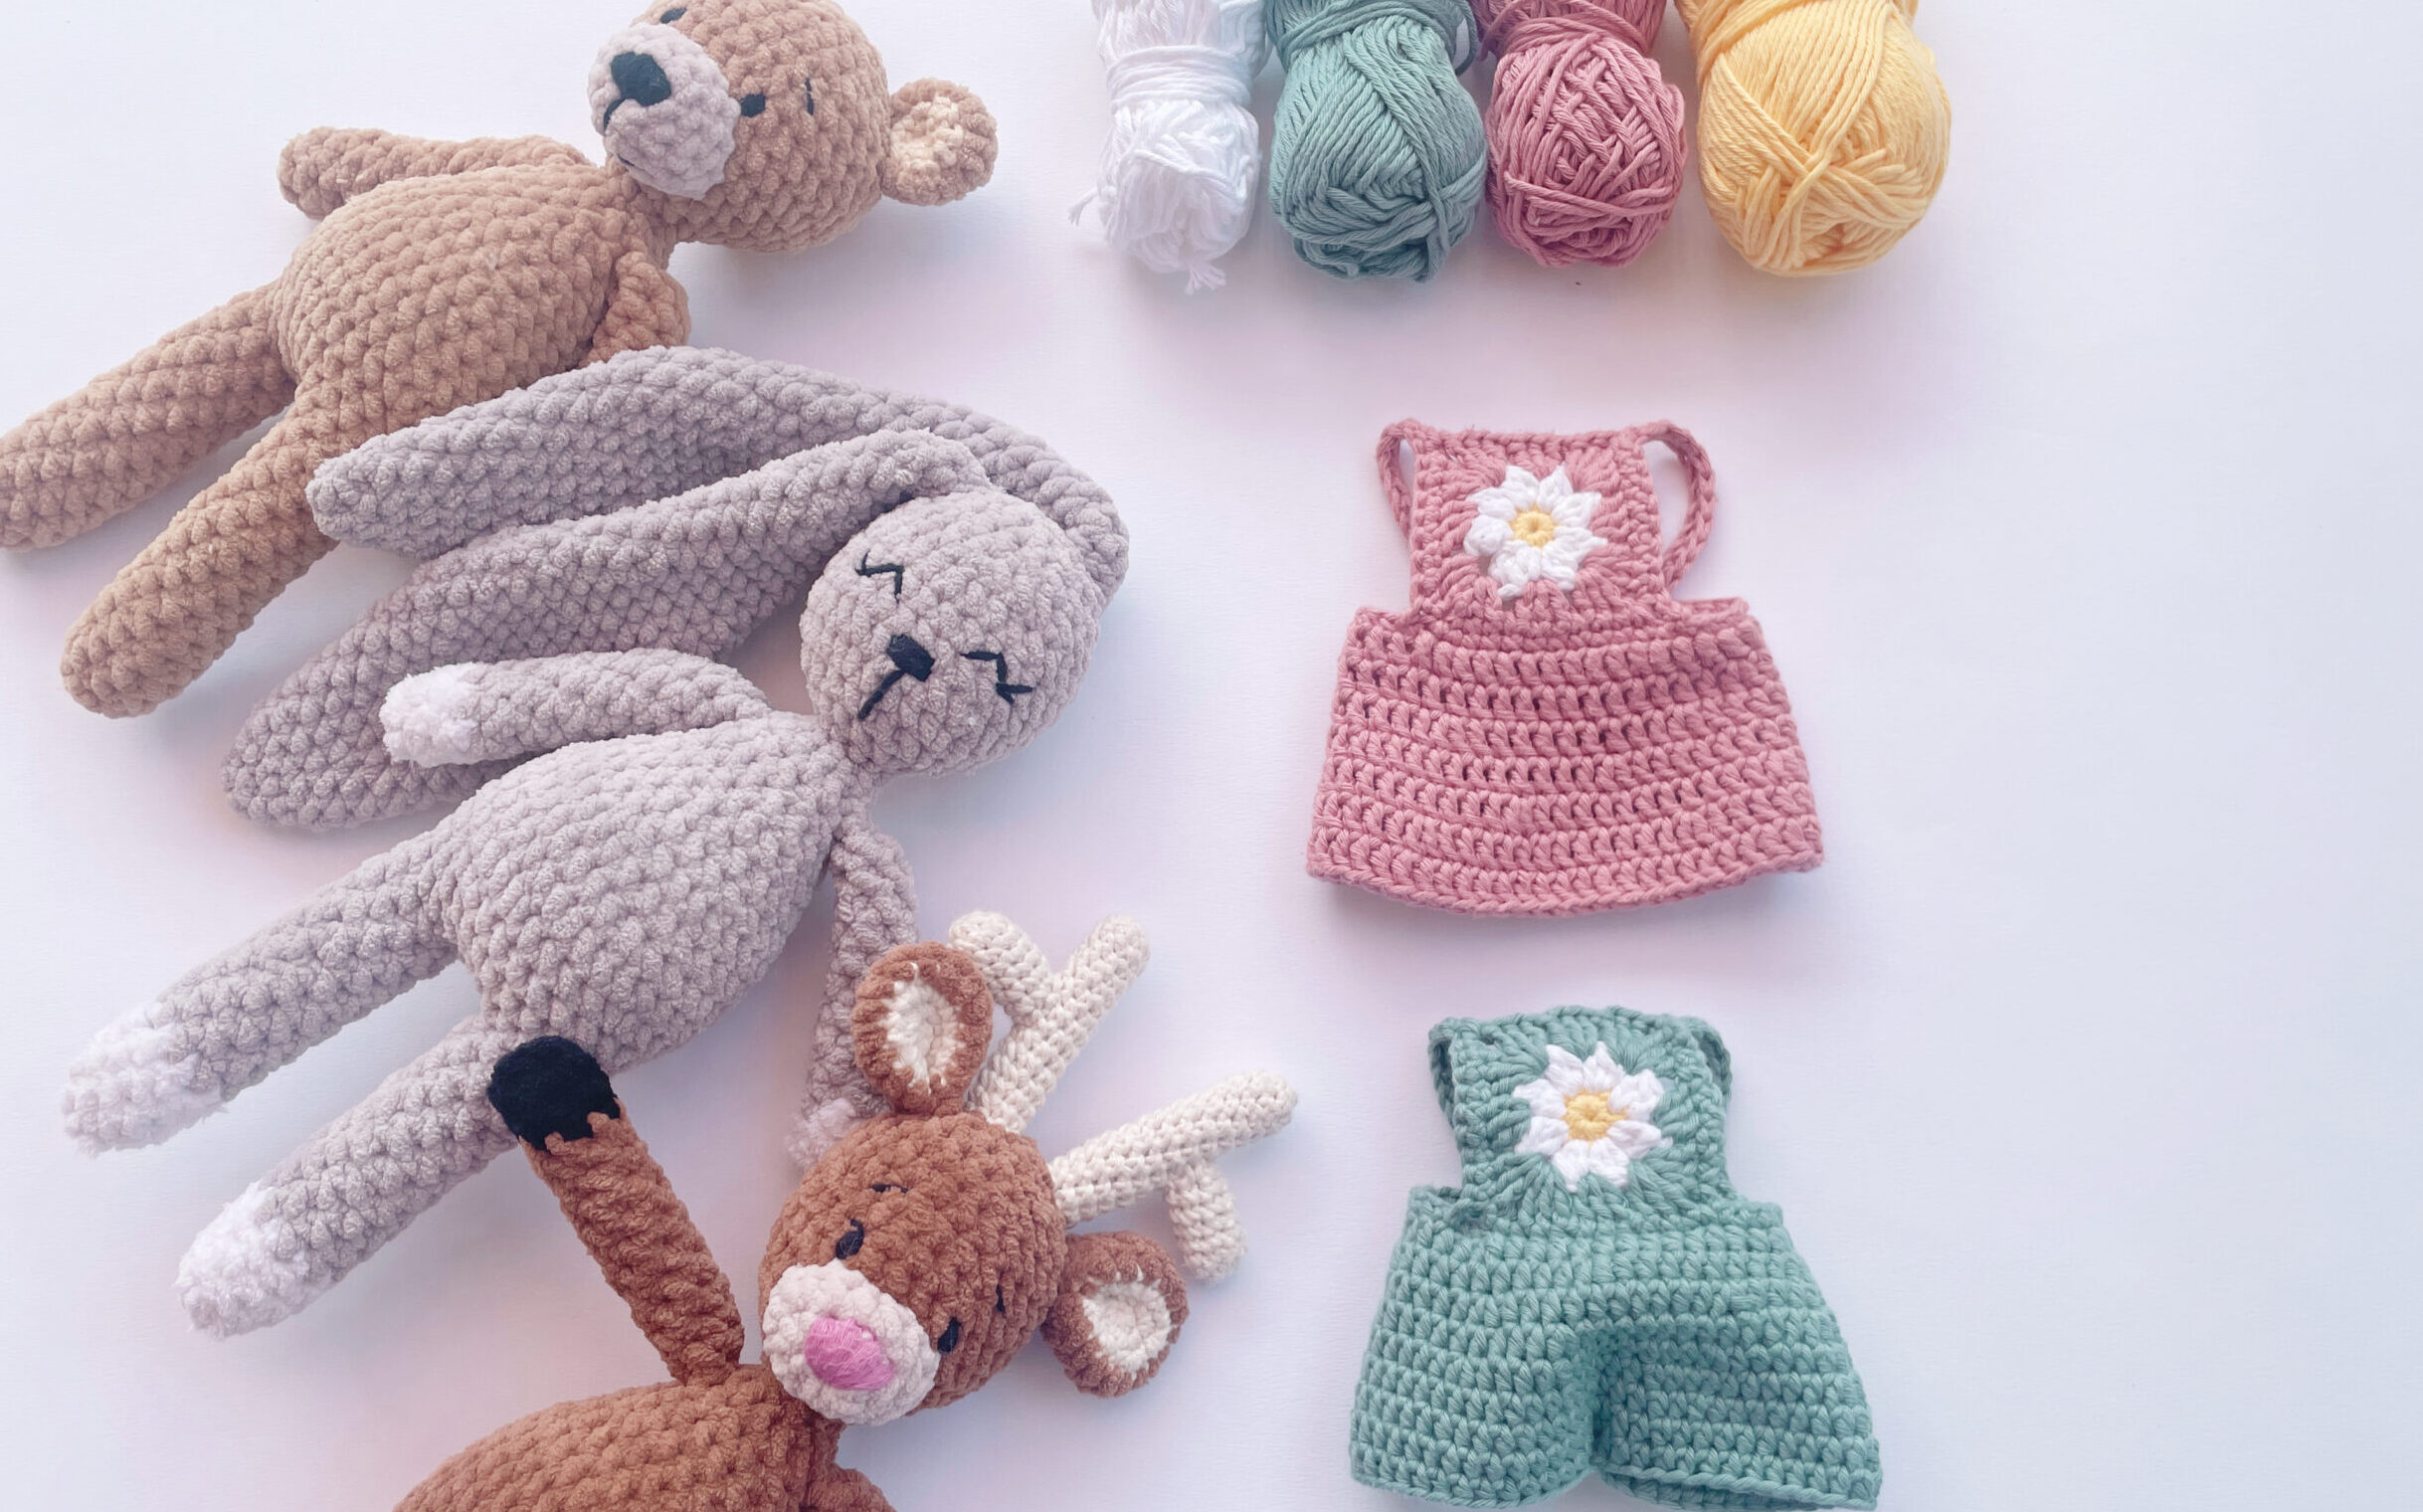
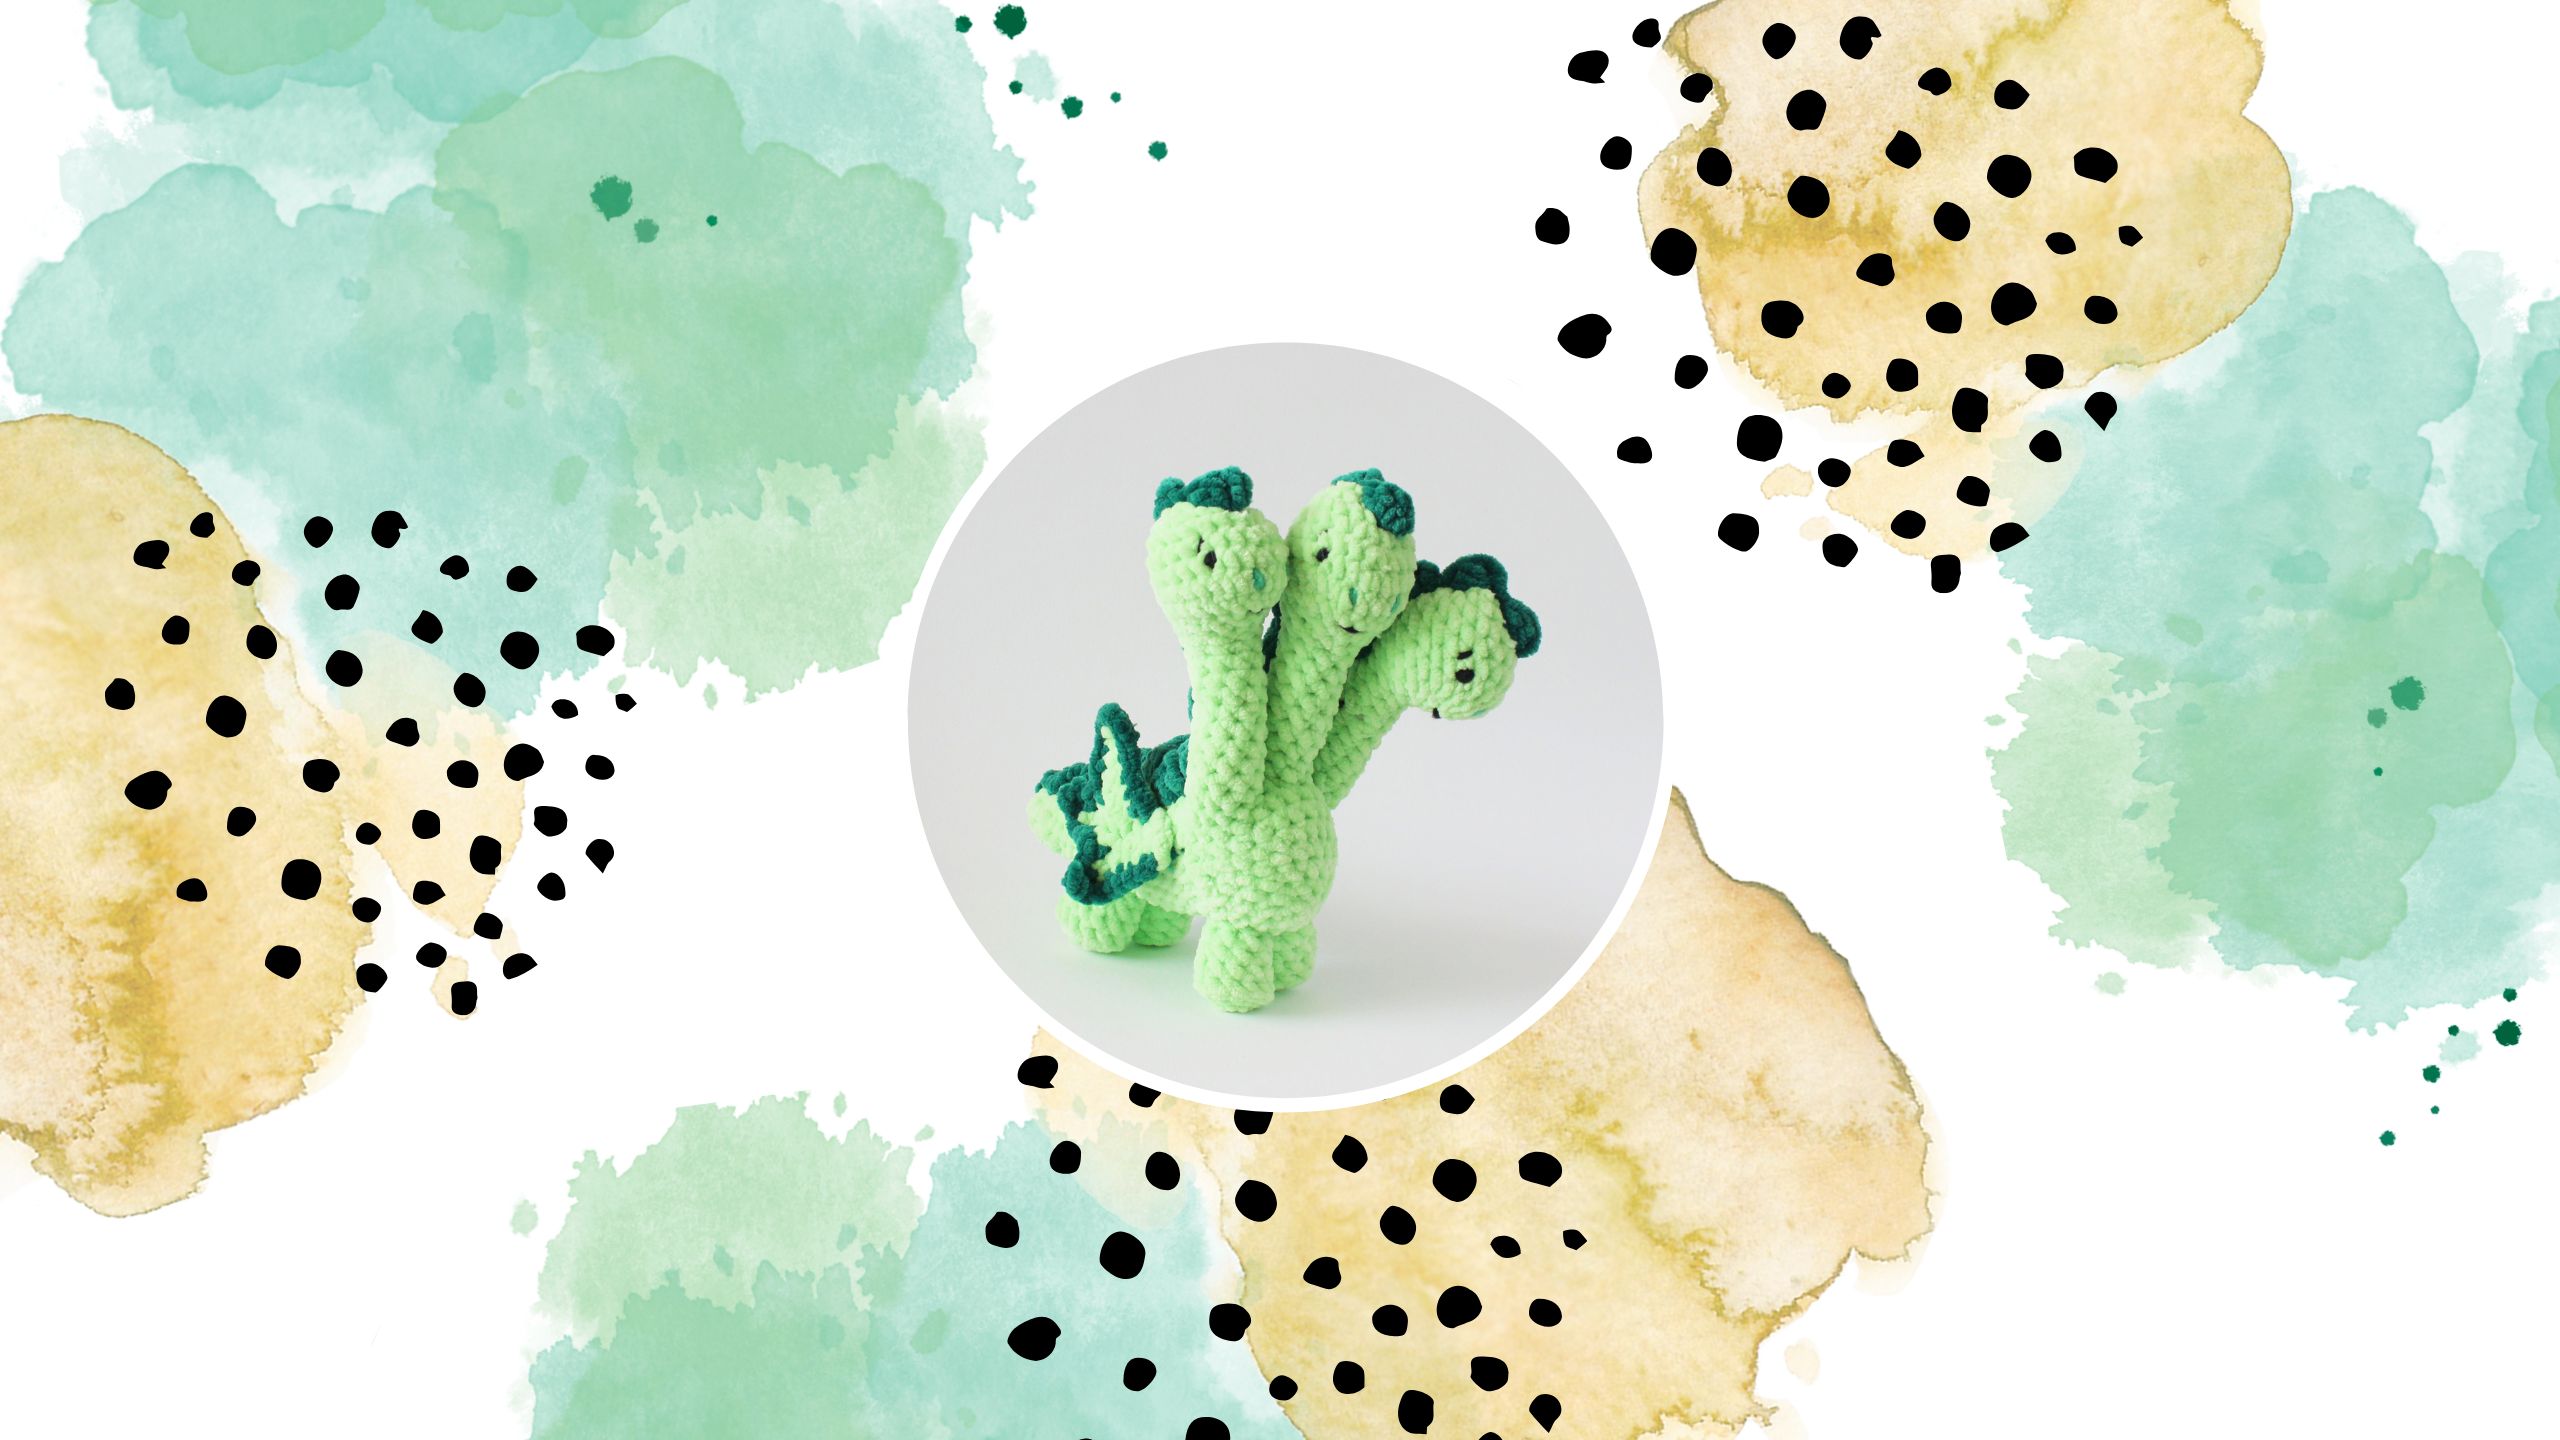
Photo: Own (Rebeka Novák-Szabó ev)
Reading a crochet pattern
Reading a crochet pattern is really easy once you understand its logic. A unique but important factor used to make the work of crocheters difficult, namely that designers write their crochet patterns differently. Come on abbreviations and symbols are usually the same, in spite of that is recorded based on a different methodology. Regarding my own patterns, I write the descriptions in a slightly different way than other designers, because usually not only simple reproduction and consumption appear in them. THE diverse consumption and reproduction operations this way of description is required to make it easier for the crocheter to see the pattern and carry out the crocheting operations. The different consumption-propagation operations and the use of different sticks are necessary so that the end result is realized based on my vision.
Whatever pattern you crochet from, you always have to tune in to the designer's style. There are some people you get used to more easily, while others take more time to get used to. As I wrote before, the designer/publisher can fix the patterns in different ways or in a sítlus. There are descriptions where the crochet process is fully recorded in text. At first, my own samples were also written in this way, but today I write them in a different way. Where this type of description can often be found are a magazines and books. This type of description can also be found in PicaPau books. Of course, this does not mean that everything is described word for word, but it contains much more text than other crochet patterns. The other type of description is description with notations, which in their knowledge, like a code language the crocheter can easily follow row by row. This method is also used by most designers, including myself. THE we don't really come across descriptions with signs (drawings/pictures) when making amigurumi, unless a part of it definitely requires a graphic representation. I also have a couple of samples where I attach such a drawing as a diagram for easier transparency. This is especially helpful for crocheters who are visual creatures, so it is easier to understand what needs to be done through the visual representation than from the textual description. By the way this method can usually be found in the description of blankets, shawls and bags.
Without claiming to be complete, I will show you how the same crochet rows can be described differently (but still mean the same) through an example of multiplication and consumption.
Abbreviations: rp = short stick, lsz = chain link
BEER | Crochet instruction/to-do | Text description | Description with commonly used symbols | Description appearing in my own samples | Number of stitches created in a row |
1. | Crochet the beginning round with 6 double crochets. | Make a slip ring/magic circle, crochet 6 rp in it! | 6 rp into a magic circle | VK with 6 rp | 6 |
2. | Crochet 2 short treble crochets in each eye created in the previous row. | Multiply all (here a total of 6) faces! | mud*6 | [ mud(2rp) ]*6 | 12 |
3. | Crochet 1 double crochet in the first stitch of the row, then crochet 2 double crochets in the second stitch. Repeat this 6 more times (until the end of the row). | Crochet 1 dc in the next stitch, then increase. Repeat this 6 times in a row! | (rp, mud) *6 | [ 1 rp; mud(2rp) ]*6 | 18 |
4. | Crochet 1 double crochet in the first two stitches of the row, then crochet 2 double crochets in the third stitch. Repeat this 6 more times (until the end of the row). | Crochet 1 dc in the next 2 stitches, then increase. Repeat this 6 times in a row! | (2 rp, mud) *6 | [ 2rp; mud(2rp) ]*6 | 24 |
5. | Crochet 1 double crochet in the first three stitches of the row, then crochet 2 double crochets in the fourth stitch. Repeat this 6 more times (until the end of the row). | Crochet 1 dc in the next 3 stitches, then increase. Repeat this 6 times in a row! | (3 rp, mud) *6 | [ 3rp; mud(2rp) ]*6 | 30 |
6.-11 | Crochet 1 double crochet in each eye. Repeat this row 6 times (i.e. crochet this in rows 6-11). | Crochet 1 rp in each eye until the end of the row! | 30 rp | 30 rp | 30 |
12. | Crochet 1 double crochet in the first three stitches of the row, then crochet the fourth and fifth stitches of the row together (this is the consumption). Repeat this 6 times. | Crochet 1 sc in the next 3 stitches, then make a slip. Repeat this 6 times in a row! | (3 rp, run out) *6 | [ 3rp; lose2rp ]*6 | 24 |
13. | Crochet 1 double crochet in the first two stitches of the row, then crochet the third and fourth stitches of the row together (this is the consumption). Repeat this 6 times. | Crochet 1 sc in the next 2 stitches, then make a slip. Repeat this 6 times in a row! | (2 rp, run out) *6 | [ 2rp; lose2rp ]*6 | 18 |
14. | Crochet 1 double crochet in the first stitch of the row, then crochet the second and third stitches of the row together (this is the consumption). Repeat this 6 times. | Crochet 1 sc in the next stitch, then make a slip. Repeat this 6 times in a row! | (rp, run out) *6 | [ 1rp; lose2rp ]*6 | 12 |
15. | Crochet the first and second stitches of the row together (this is consumption). Repeat this 6 times. | Make 6 consumptions in a row! | (3 rp, run out) *6 | [ 3rp; lose2rp ]*6 | 6 |
16. | Crochet 1 sc. Pick up 20 chain stitches, then in the second stitch from the needle, start crocheting 3 double crochets in each chain stitch. If you have returned to the original row, continue crocheting there. Repeat this 6 times. (You should get 6 hanging curling tentacles in the same row) | Crochet 1 sc. Then pick up 20 ch and start crocheting from the 2nd ch from the needle. Increase 3 rp in each ch. Repeat this 6 times in a row! | (1 row, 20 ch from the 2nd stitch back to each ch | [ 1 dc + 20 dc, Mud from 2nd eye (3rp)*19 ] *6 | In the same way, 6 stitches are created on the main row and next to it, 6 curling tentacles with 19 rp are completed |

The table above can perhaps provide a little help to get started for beginner crocheters. As you can see in the table, I use a different description method in my own crochet patterns. This is why I use a different description method than I wrote before, because it is impossible to describe the more complex crochet instructions with them, or it would be too complicated. I'll give an example of this as well. Neither solution is right or wrong, just different. I created my own description in this way, because for me it is the best way to see what needs to be done, and I can describe the stitch numbers of the rows in a short, transparent and clear way.
Abbreviations: rp = short rod; fp= half stick, erp= single fold stick
Text description | Description with commonly used symbols | Description appearing in my own samples | Number of stitches created in a row |
Crochet the following: increase 2 rp to the 1st eye, increase 1 rp and 1 sl st to the 2nd eye, increase 2 sl st to the 3rd eye, increase 1 sl st and 1 sl st to the 4th eye t; increase 1 fp and 1 rp to the 5th eye, increase 2 rp to the 6th eye. | sl st, ˙(1rp and 1 sl st), sl st, (1 sl st and 1 sl st), (1 sl st and 1 sl st), (1 sl st and 1 sl st), sl st | mud (2rp); mud(1rp; 1fp); mud (2fp); mud(1fp; 1erp); mud(1erp; 1fp); mud(1fp; 1rp); mud (2rp) | 12 |

If you can't read a crochet pattern yet, but you want to, but you don't feel that the explanation I provided is sufficient, then first start reading with samples that use the text description. The PicaPau books contain a lot of help, with their help you can easily learn not only how to read crochet patterns, but also many techniques that can be used when making amigurumi. (Related article: Why do I love Pica Pau's characters? – Book recommendation not just for beginner crocheters)
On top of that I can recommend the video crochet patterns of Hungarian designers found on YouTube! Although many people use English expressions as subtitles, if you sit in front of the crochet videos with an English-Hungarian crochet dictionary, you can easily learn to read crochet patterns with the help of the videos. I wholeheartedly recommend it Dynamic Design and Sylvee's Crochet Patterns YouTube channel, where countless free materials are available, which not only help you learn how to read the pattern, but you can enrich yourself with something beautiful crocheted.
The math of crochet
I know that for many readers the information discussed in the previous chapter is nothing new, but I thought that everyone would - hopefully - find new information for themselves. I will introduce a little about the relationship between crochet and mathematics. In the beginning, when I discovered the beauties of this hobby, I realized how closely the two are connected to each other, even though you wouldn't think so. During planning, I often count back and forth to see if the stitch counts are correct, because sometimes there is no time to crochet the whole thing again (for the hundredth time). Sometimes it turns out during testing that something doesn't work, so division and multiplication can be done again. In addition to the evidence that we regularly work with multiples of 6, so even after waking up from a dream, a person can tell at least up to 100 which numbers are divisible by 6, there are a lot of divisions and multiplications in the samples. Of course, not only in eye numbers, but when inventing a figure, the designers must also take care of the correct proportions so that the amigurumi is aesthetic.
Again, I will show this with examples, which can be helpful later if someone puts their head to the test, or if the number of stitches does not come out even after the fifth crochet of the given row, as written in the pattern, you can find what the problem is. Many times I also use this method to find out which row I missed with the calculation, or perhaps a typo in the pattern and it was not me who messed it up many times.

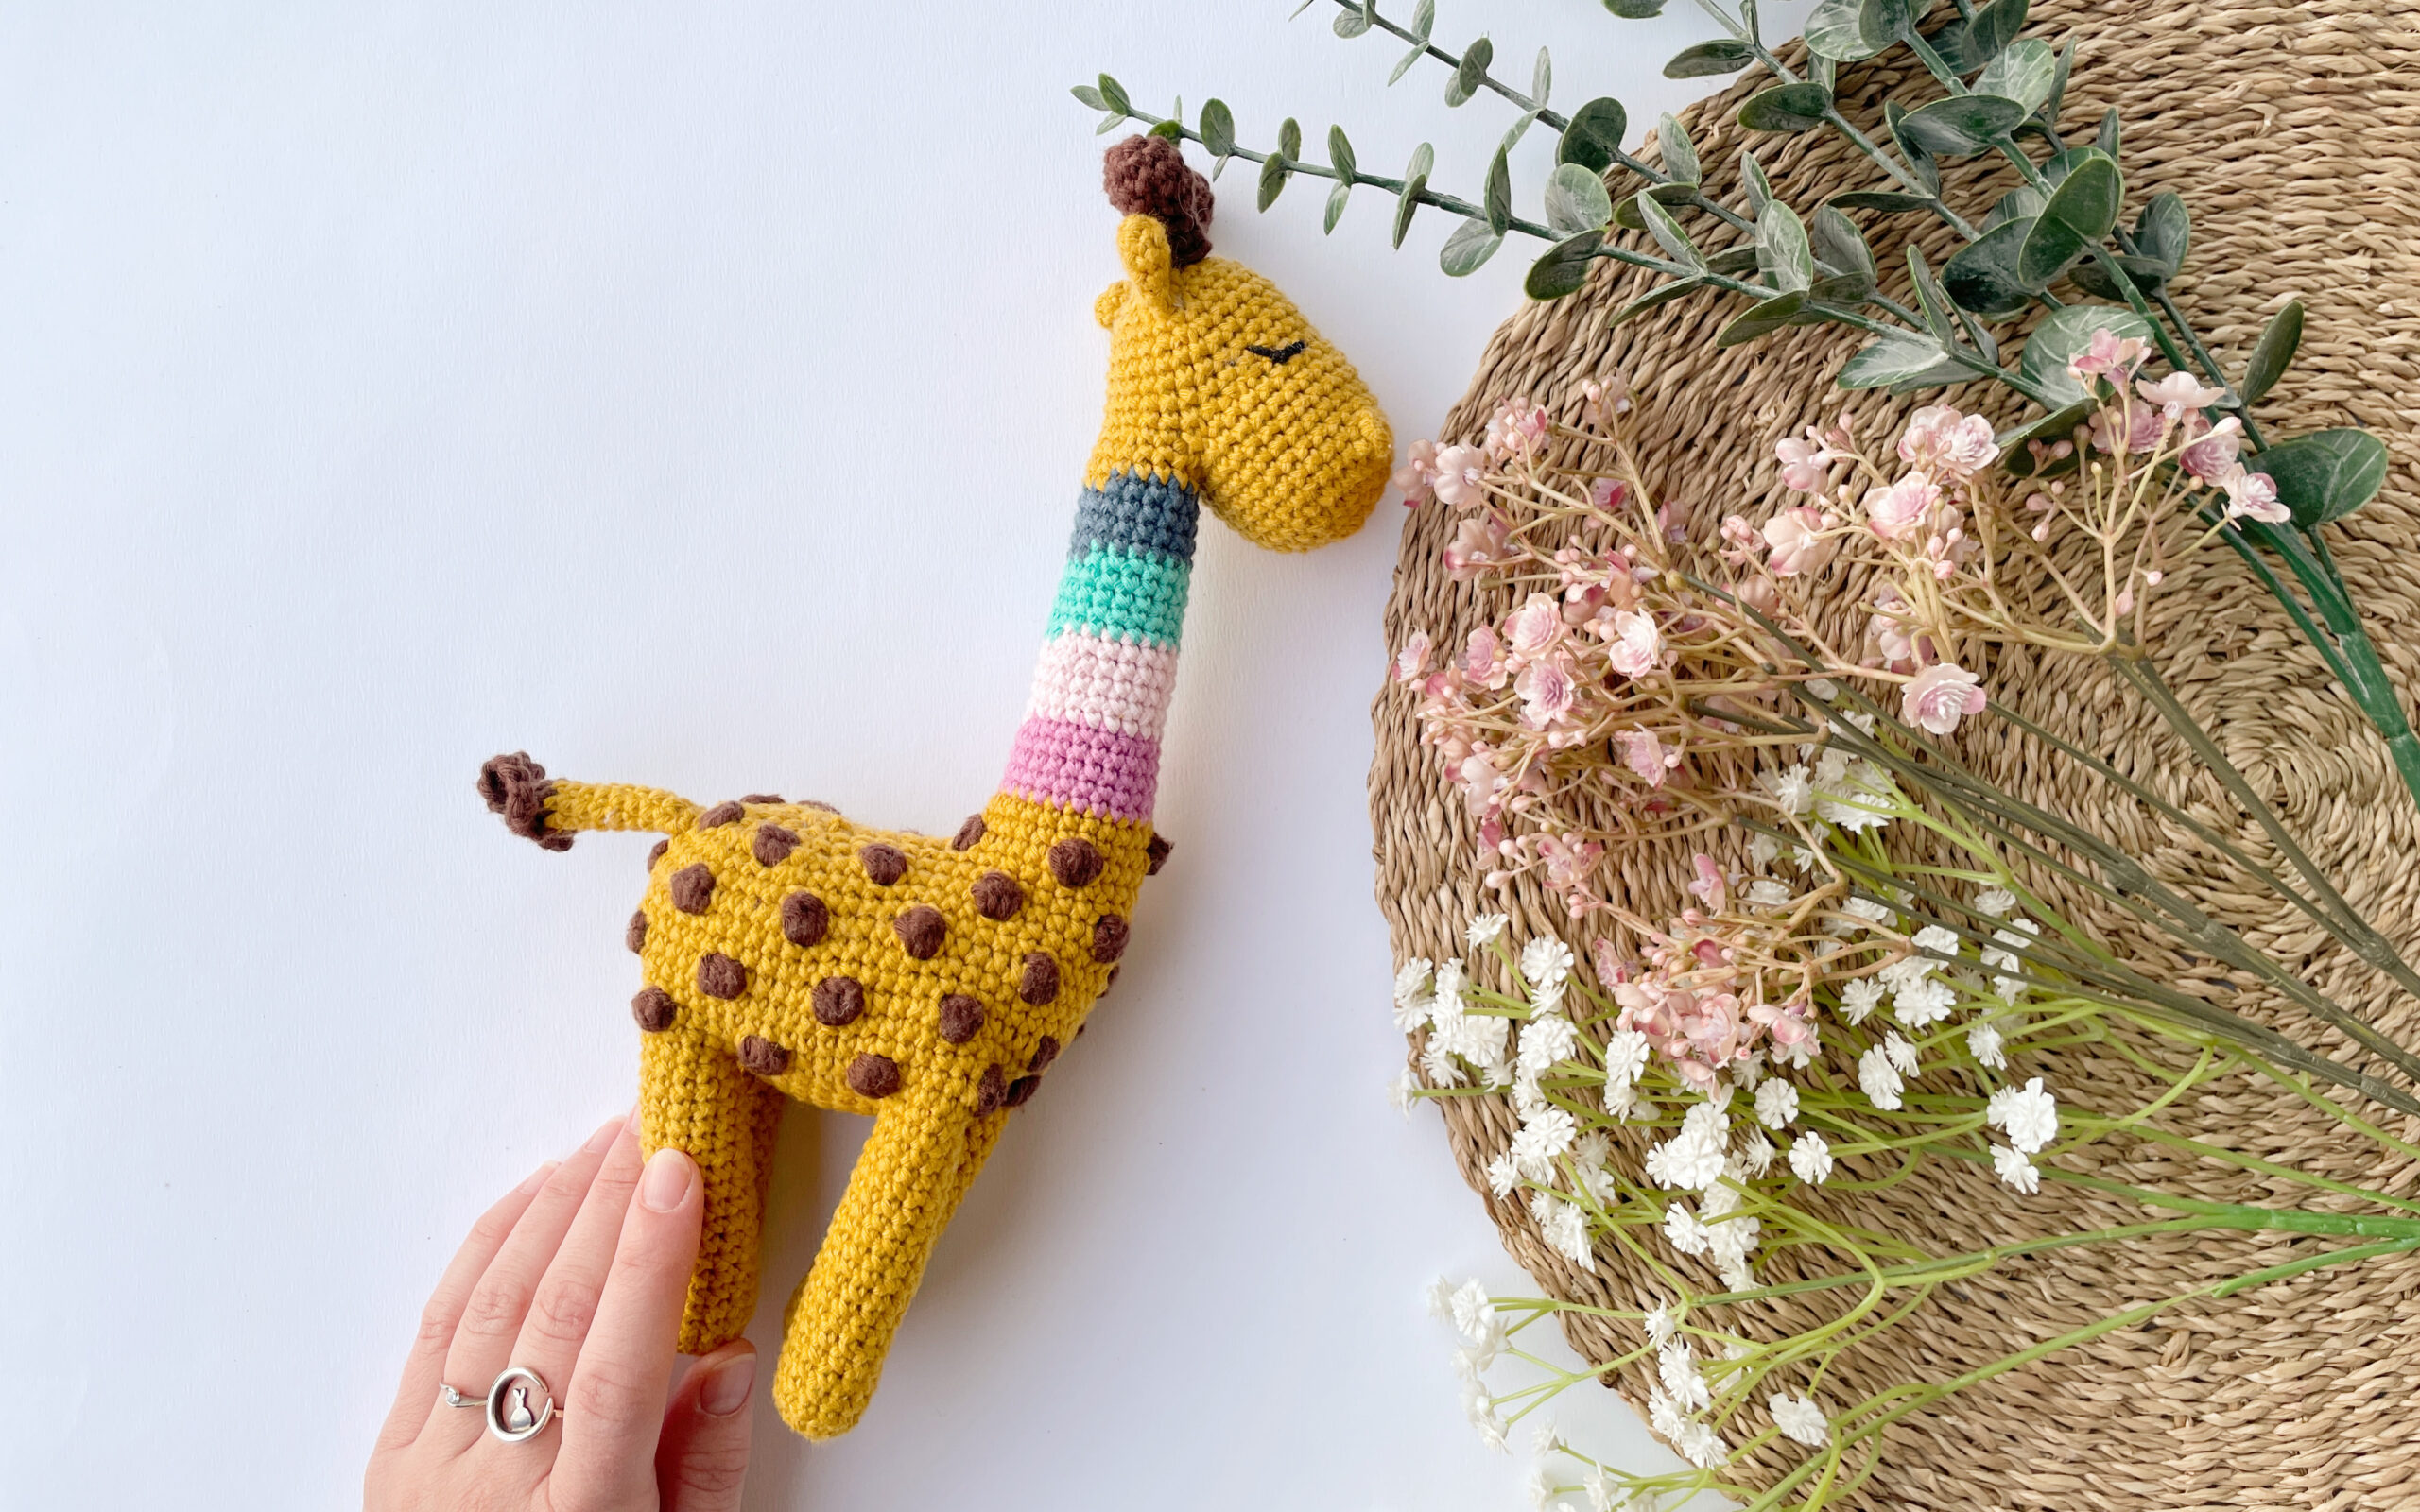
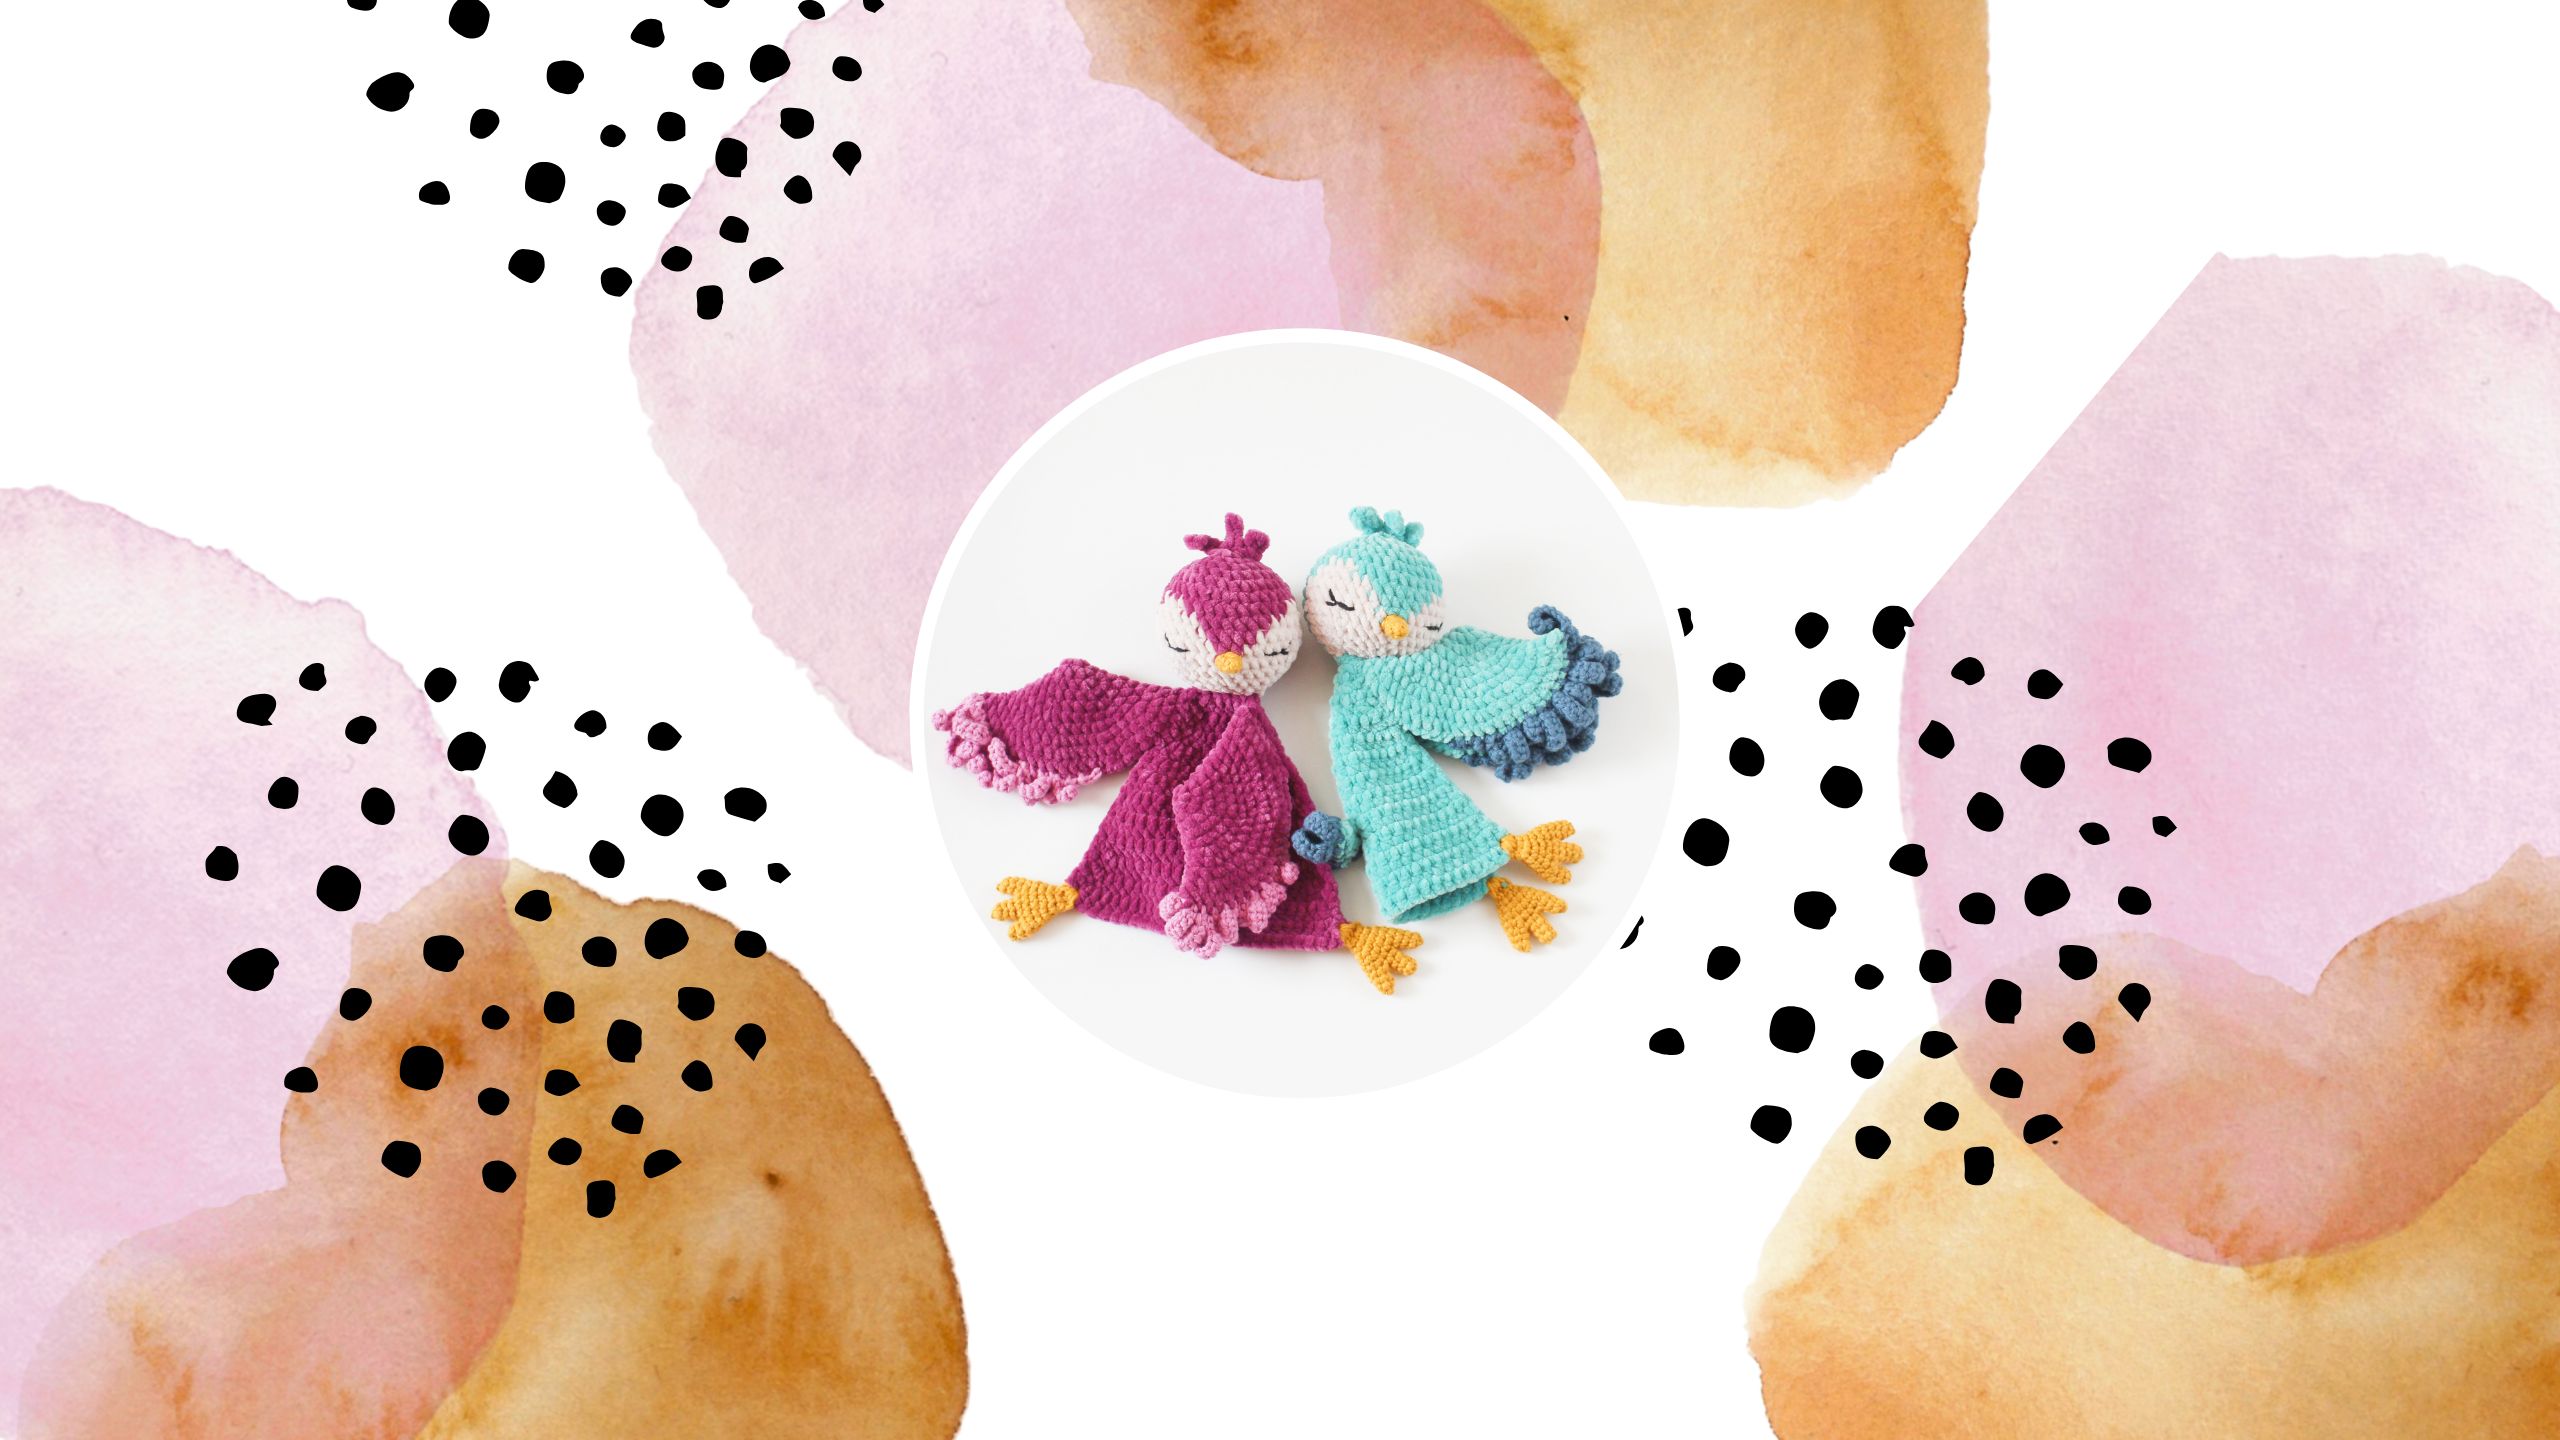
Photo: Pexels
Simpler examples (presented in my own way of description):
- [ 3rp; mud(2rp) ]*6 = At the end of this row we should have 30 stitches = (3+2)*6=30. The the number of stitches in the previous (starting) row is 24 was, since (3+1)*6=24. To count back, the multiplication must be taken as 1 stitch count, so we get the number of stitches created in the previous row.
- [ 3rp; lose2rp ]*6 = At the end of this row we should have 24 stitches = (3+1)*6=24. The the number of stitches in the previous (starting) row is 30 was, since (3+2)*6=30. For the countdown, the consumption must be taken as the number of 2 stitches, so we get the number of stitches created in the previous row.
And then come a more complicated example!
- 3 rp; lose3rp; 4 rp; lose weight; 4 rp; lose3rp; 2rp = At the end of this row we should have 16 stitches = 3+1+4+1+4+1+2=16. The number of stitches in the previous (starting) row was 24, since 3+3+4+5+4+3+2=24.
HINT GAME: Guess which of my samples the previous example comes from and write a message to the website or on Facebook with the solution. Correct solvers will receive a 33% coupon for the pattern in the solution! I give so much help that the present description does not include the different colors. If you already have this sample of mine, then unfortunately you cannot participate in the guessing game.
HINT GAME: Guess which of my samples the previous example comes from and write a message to the website or on Facebook with the solution. Correct solvers will receive a 33% coupon for the pattern in the solution! I give so much help that the present description does not include the different colors. If you already have this sample of mine, then unfortunately you cannot participate in the guessing game.
In this row, the story is complicated by the fact that other types of sticks appear and that we work with multiple consumptions, however, the story does not change the math, since we have to calculate here as well according to the previous simple examples, and only the number of stitches (regardless of what we crocheted) count.
With this method, you can also check your own work, and if during testing the math does not come out as it is written in the sample, you can easily find the error!
And then come a little puzzle!
ASSIGNMENT:
[ 2rp; mud(2rp) ] *3; láth-fogy2rp; 9 rp; mud (2rp); 2 rp; mud (2rp); 9 rp; láth-fogy2rp; [ 2rp; mud(2rp) ] *2
ASSIGNMENT:
[ 2rp; mud(2rp) ] *3; láth-fogy2rp; 9 rp; mud (2rp); 2 rp; mud (2rp); 9 rp; láth-fogy2rp; [ 2rp; mud(2rp) ] *2
Calculate how many stitches there were in the original row and, with the solution, buy my butterfly nap pattern for 33% for less! Enter the final result in place of the coupon code with a letter (for example, ONE HUNDRED AND TWENTY SEVEN) and if it is correct, you can validate the coupon code! The coupon code is not valid with any other coupon code.