
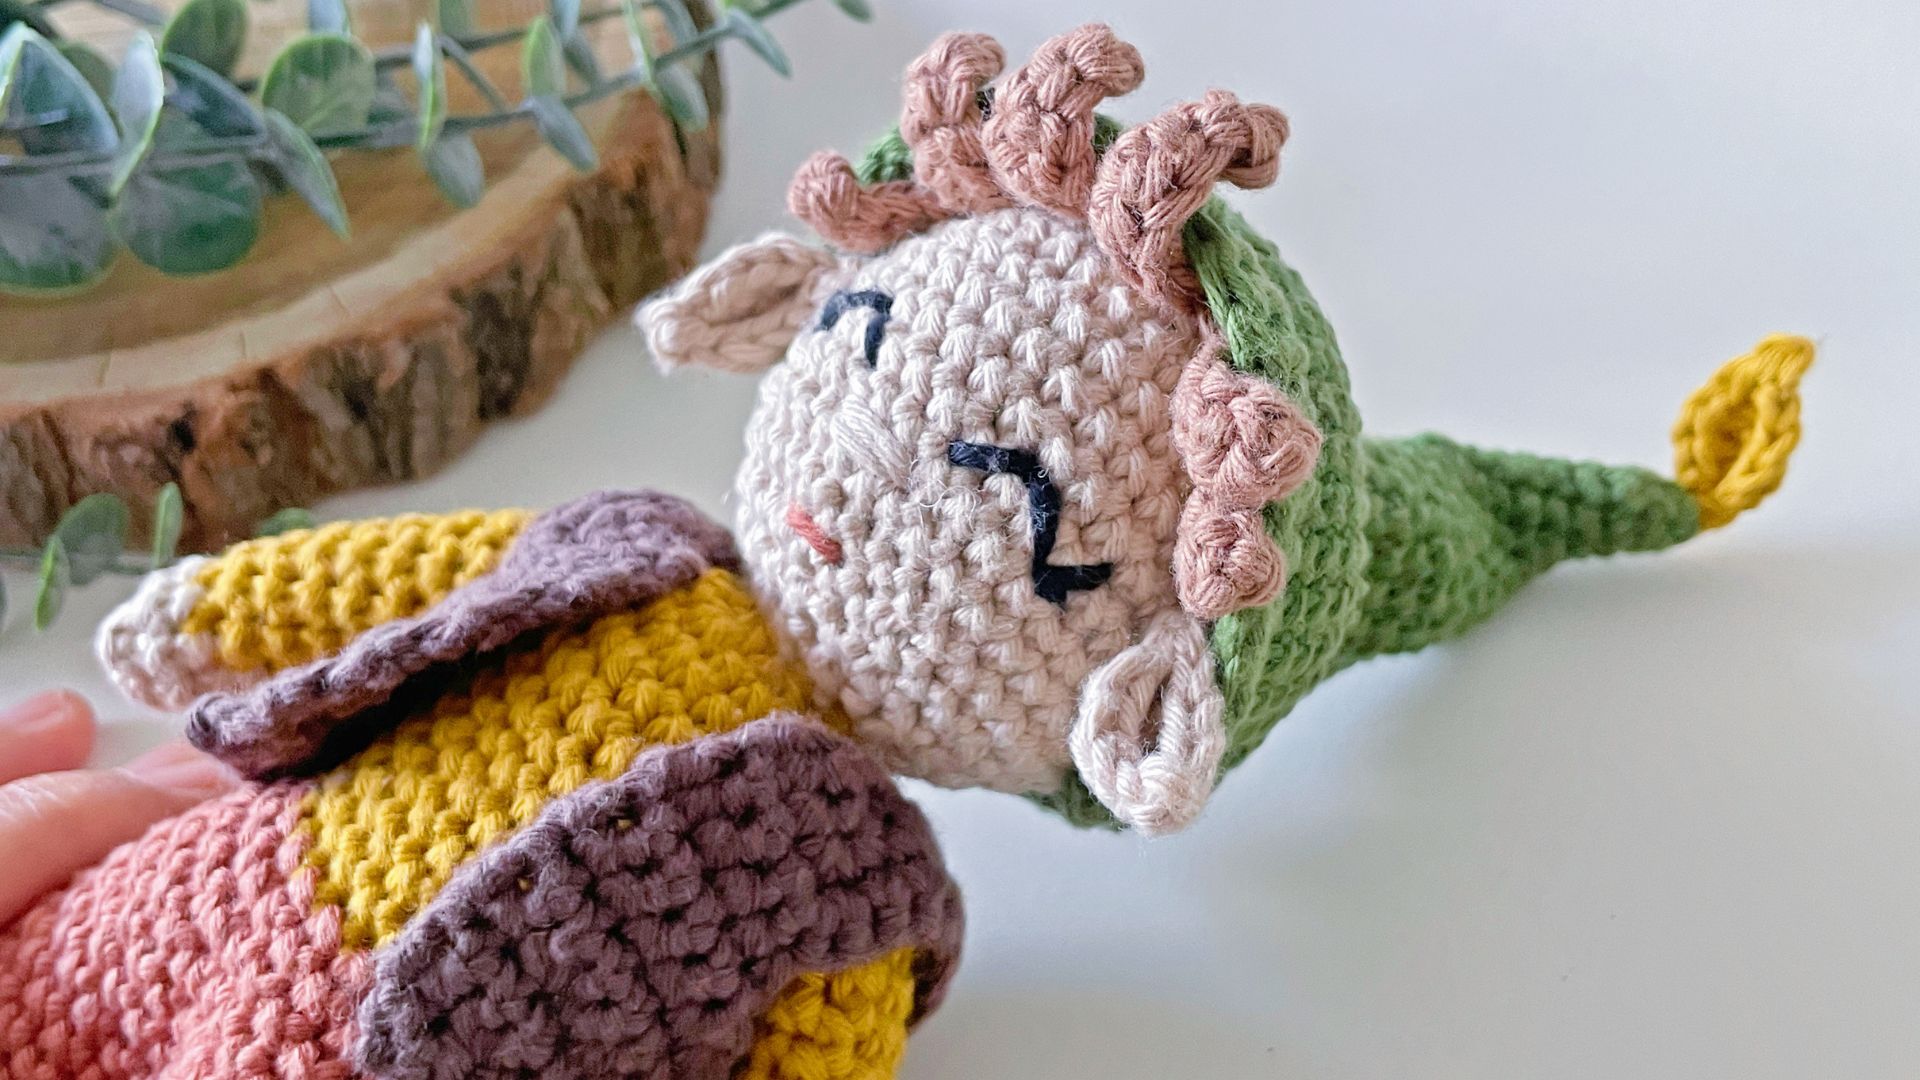
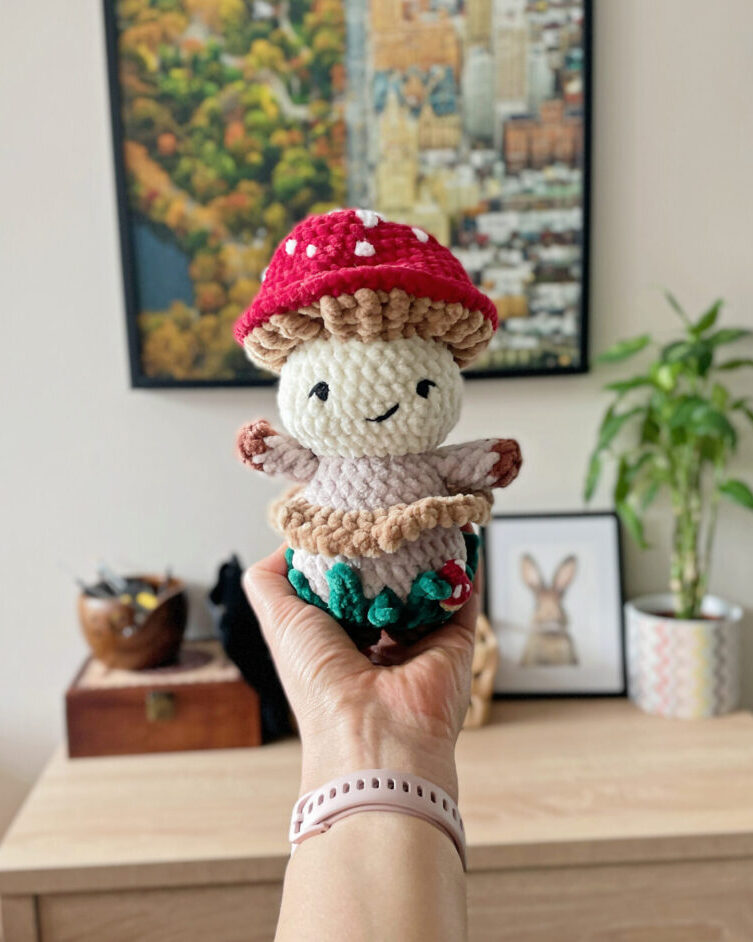
I applied on Instagram to test Irissesile’s Mushroom Pixie pattern, and I was honored to be chosen as one of the testers. Last weekend I jumped right in, excited to bring this charming little woodland-inspired Mushroom Pixie to life.
If you’re curious about the pattern, keep on reading!
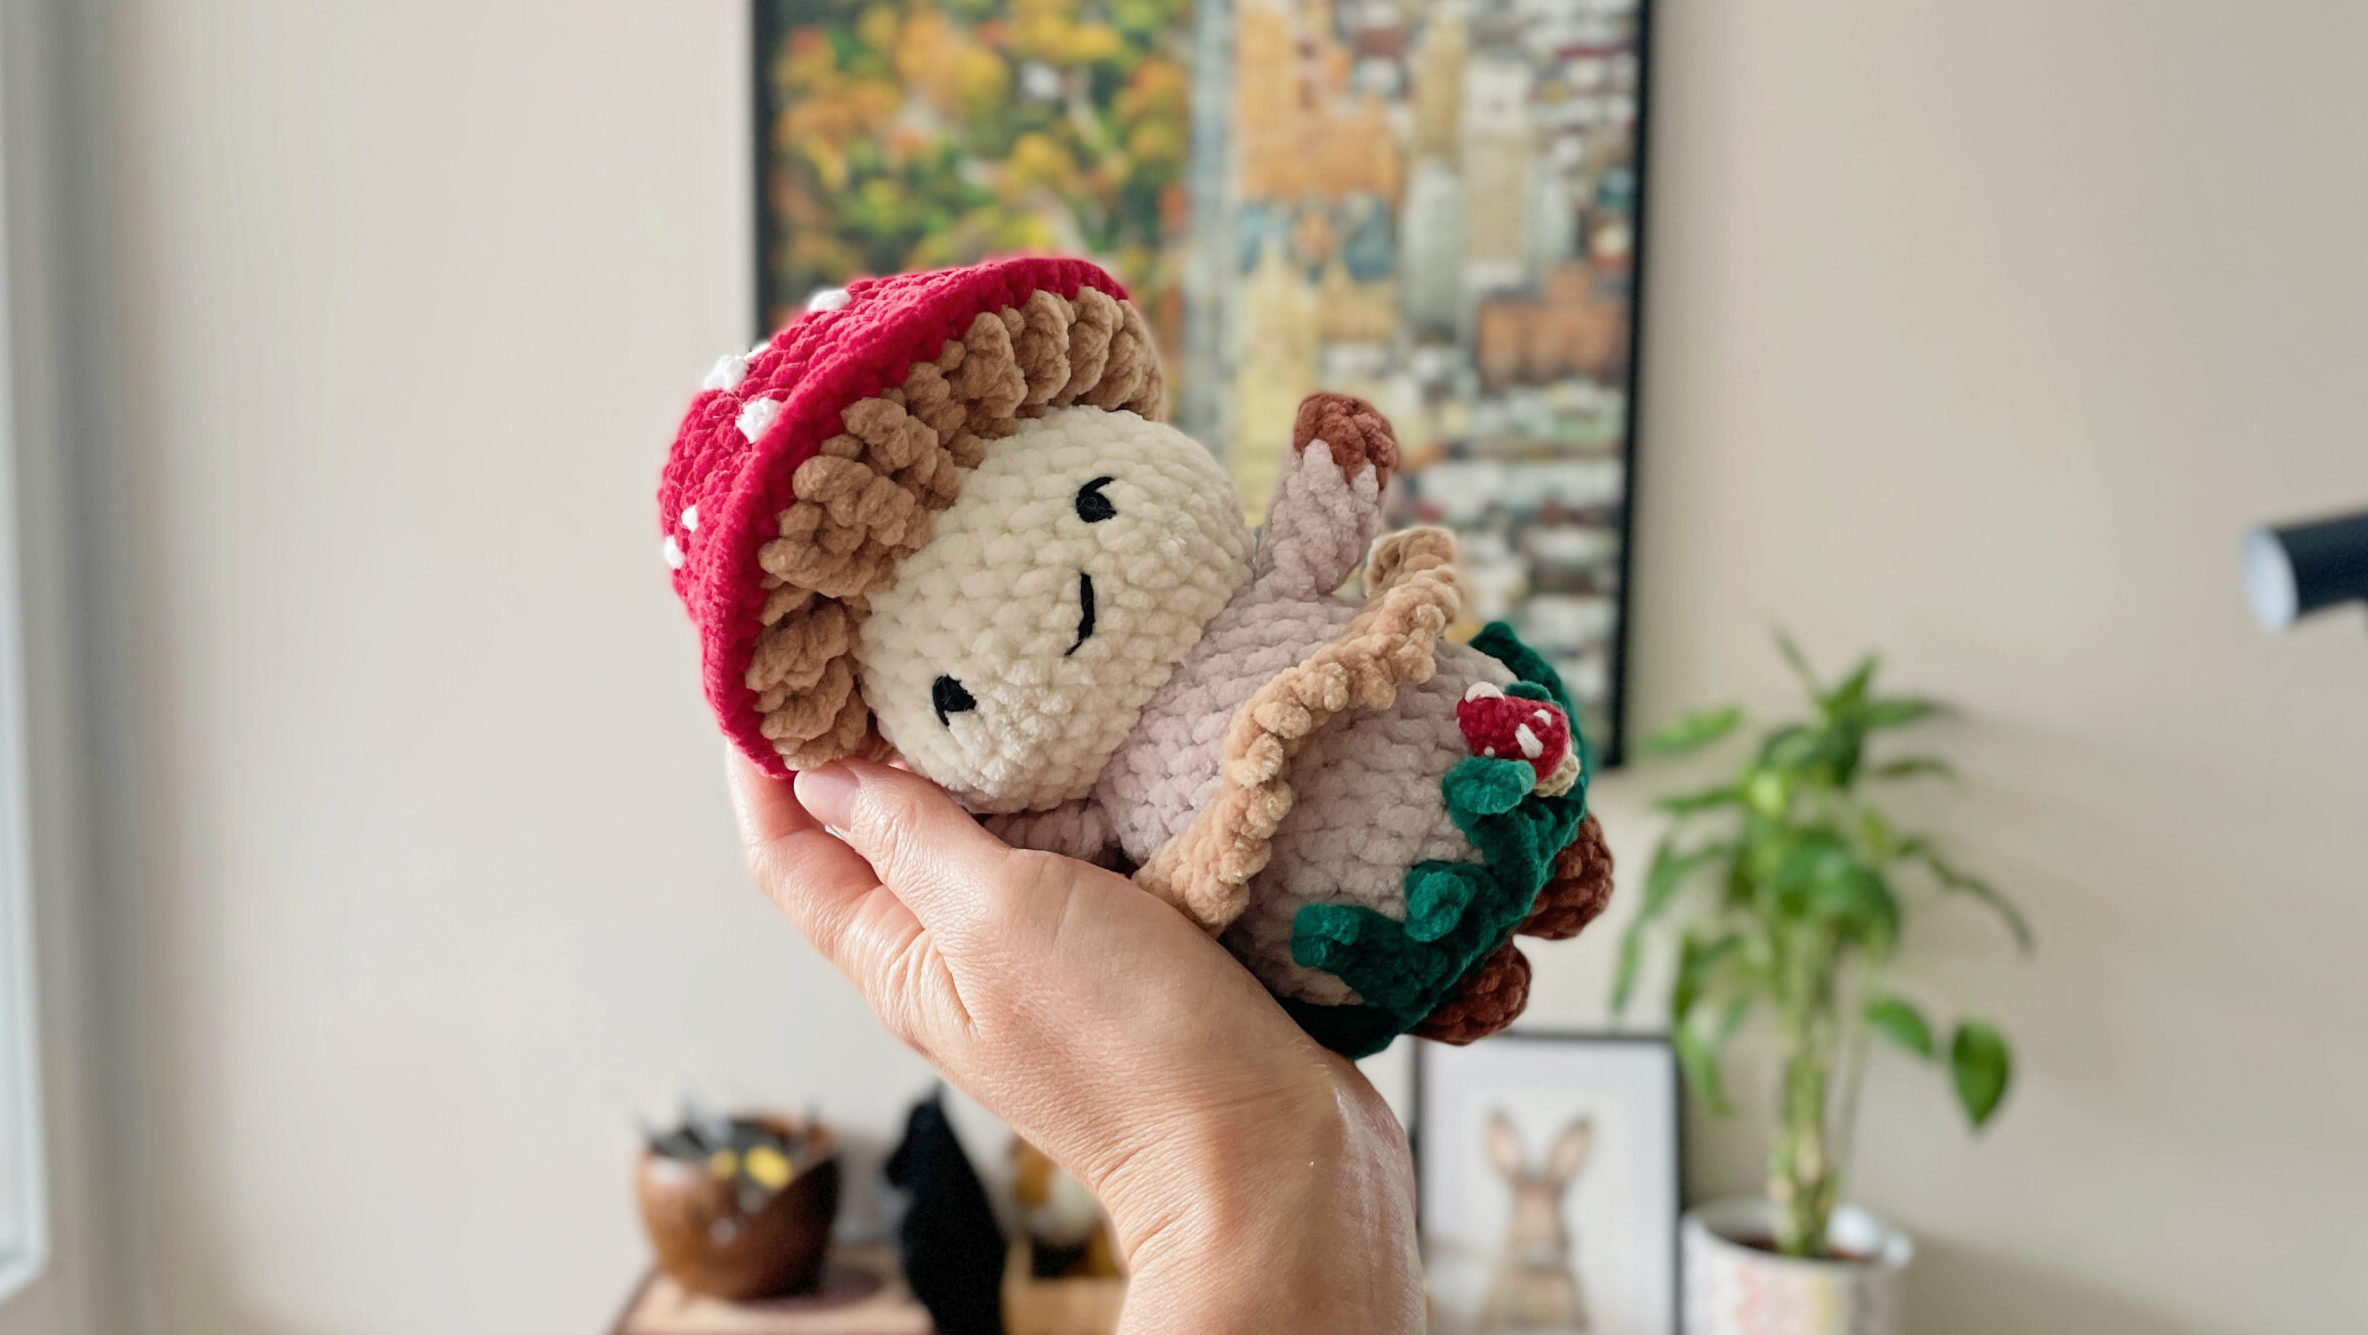
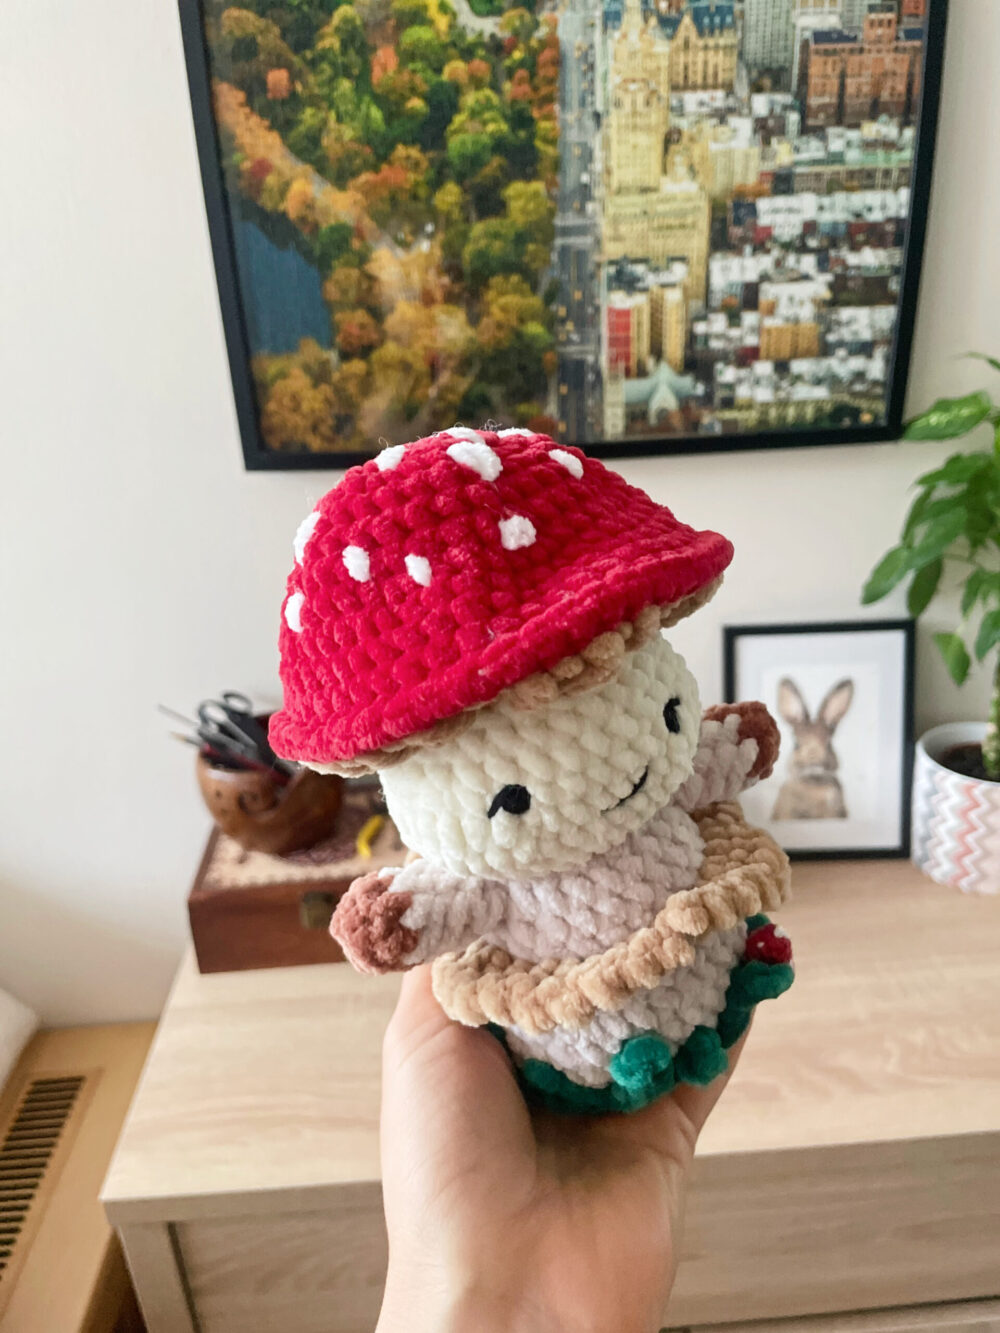
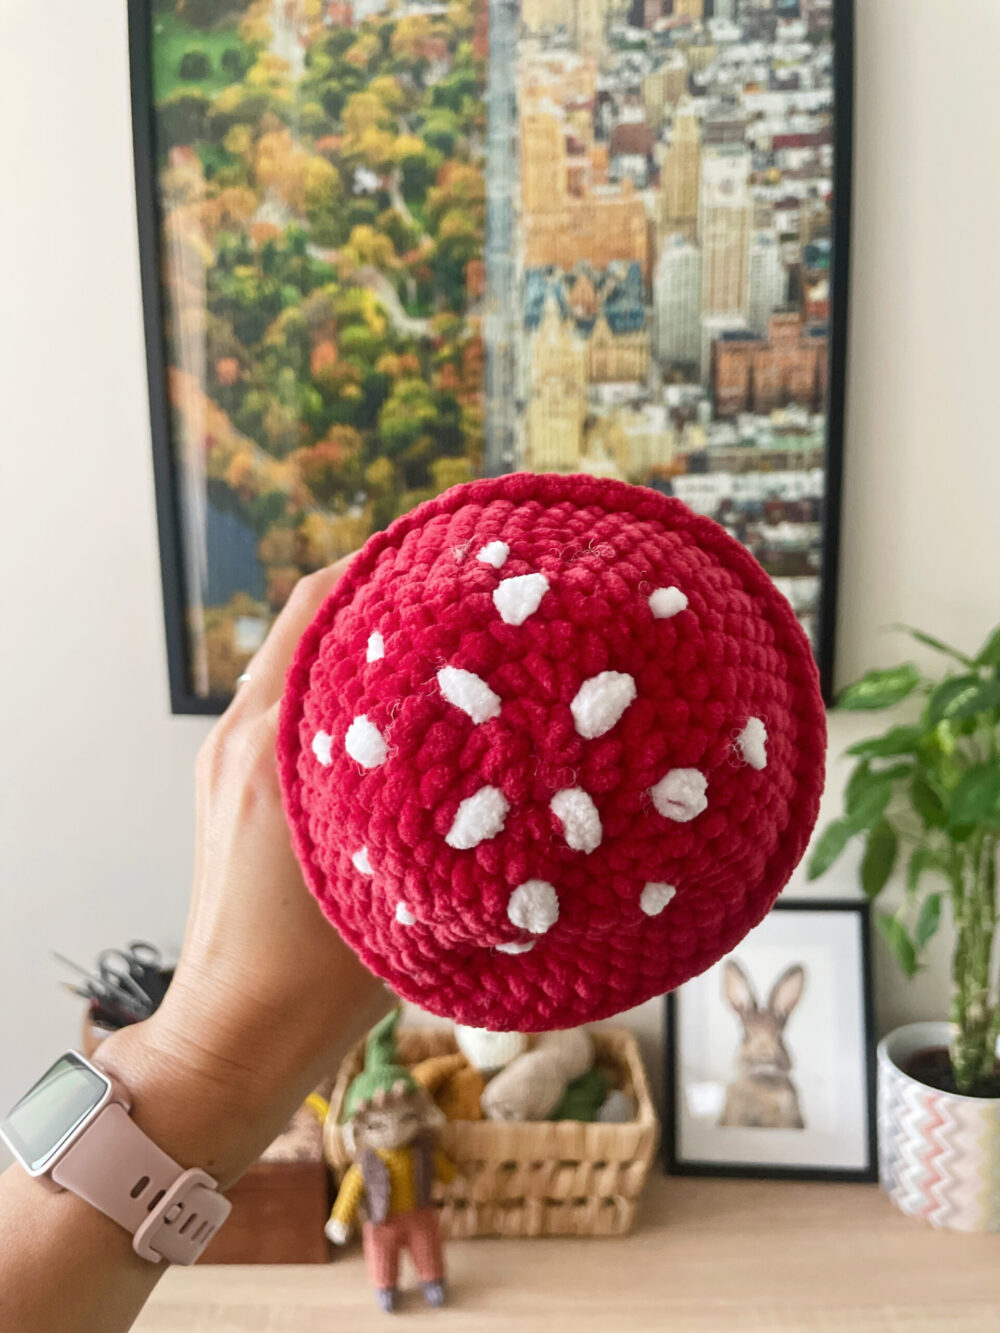
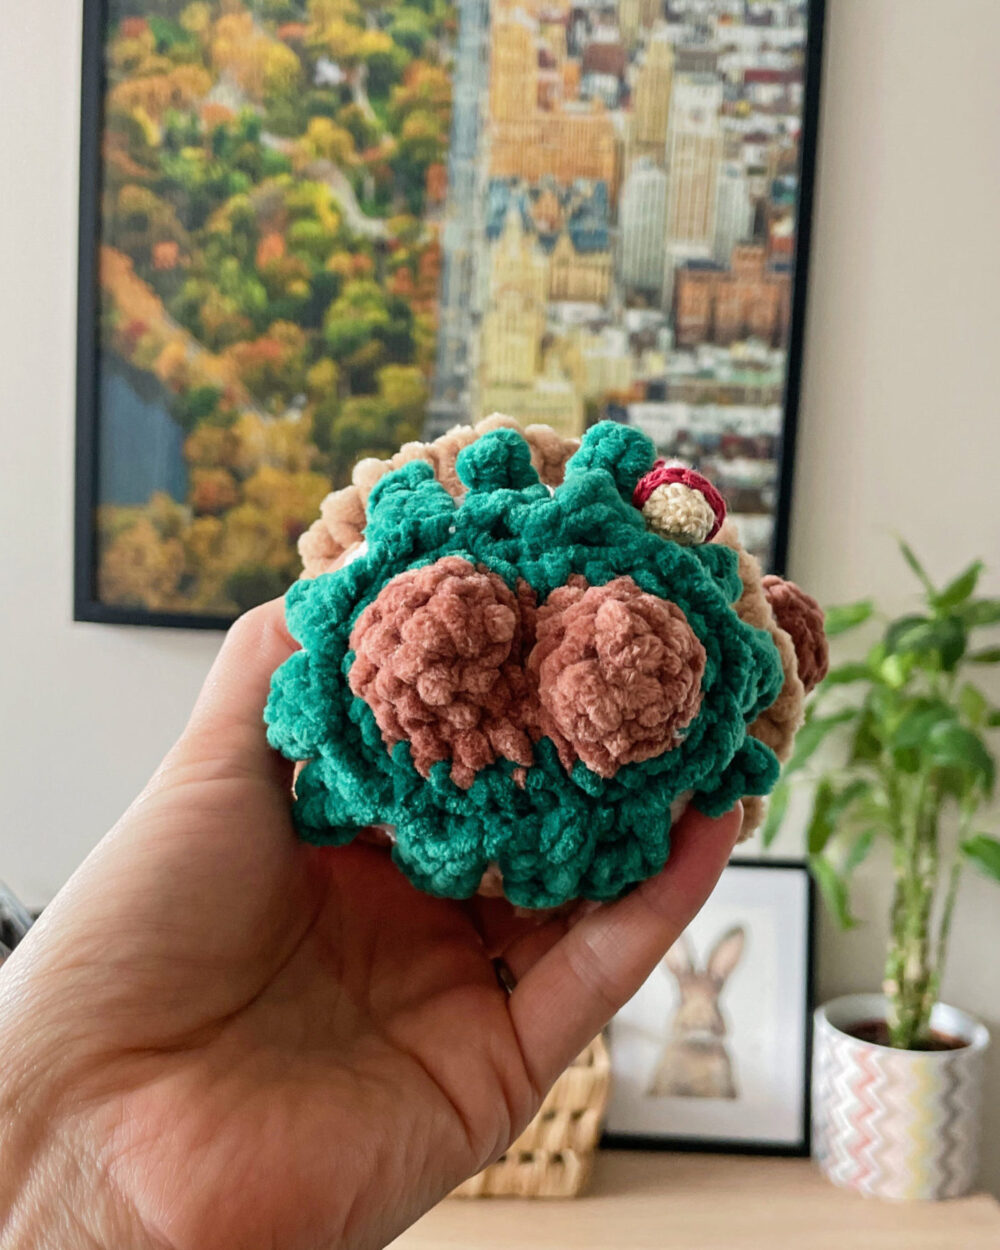
Photo: Own (Rebeka Novák-Szabó ev)
About the crochet pattern
This is a relatively quick amigurumi project made with plush yarn. All you need is two different hook sizes, your favorite chenille yarn, and just a touch of thinner (sport weight) yarn. Oh, and of course a little time—but as I mentioned, it only takes a few hours to whip up this cutie. It’s a perfect project for markets, as an autumn-inspired home decoration, and with thinner yarn I can even imagine it as part of a seasonal wreath on the front door.
As usual, the designer starts by listing the necessary materials and abbreviations, then shares some general notes on making the figure. It’s worth pointing out that the pattern was originally written with the X-stitch technique in mind, so if you use the V-stitch method instead, your results might look a little bit different. Right at the beginning, Cecília explains the essential crochet techniques needed for the pixie. This is especially useful for beginners, helping them feel confident enough to take on the project. Although the pattern is labeled as suitable for advanced beginners, in my opinion it leans more toward an intermediate level. Still, it’s a great opportunity to expand your skills and pick up some new techniques that will come in handy for future projects.
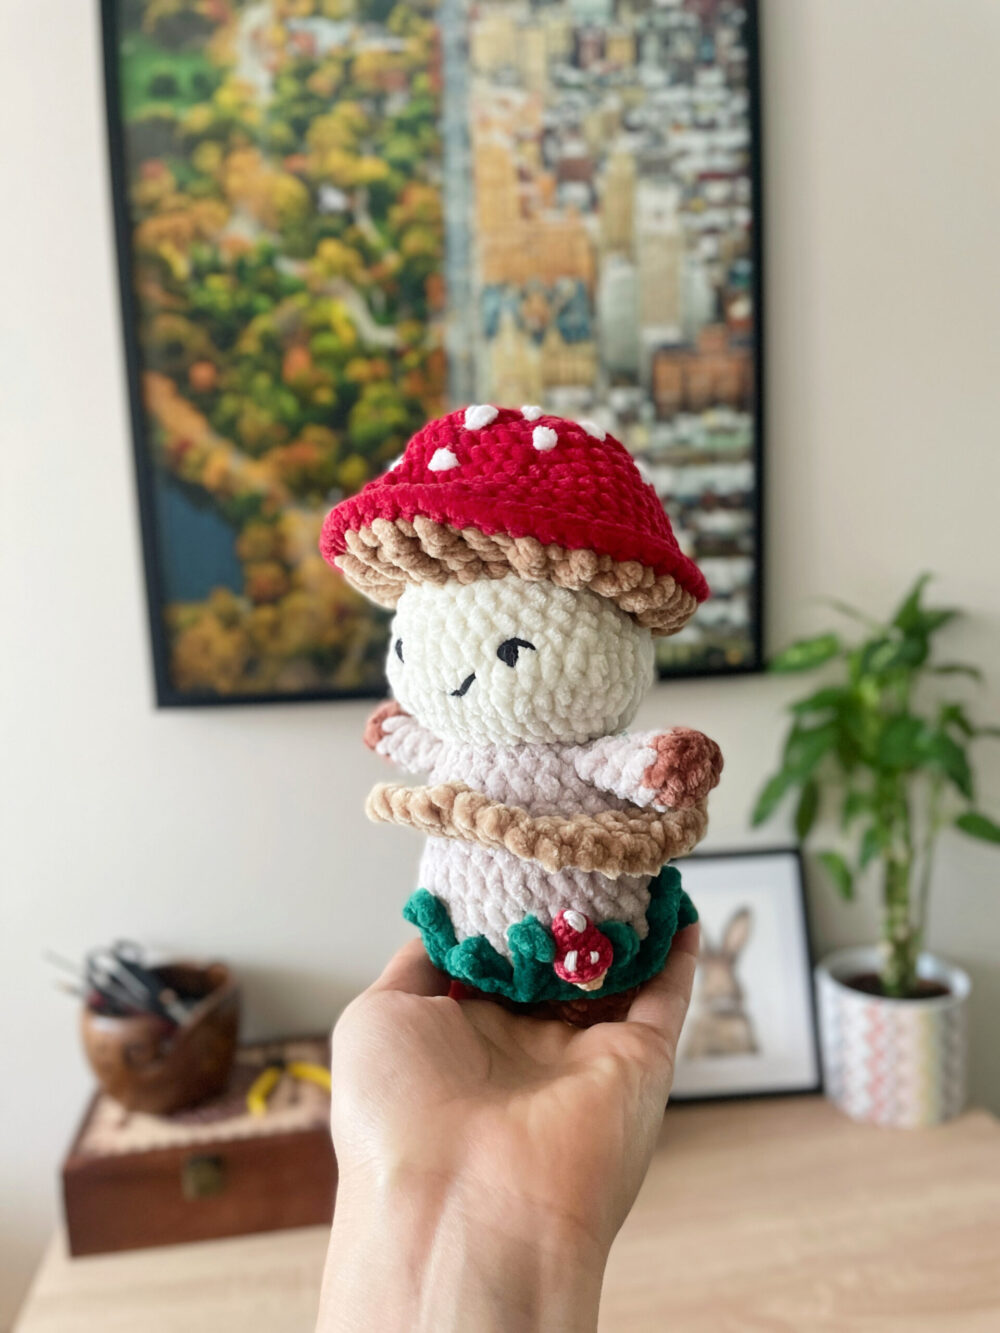
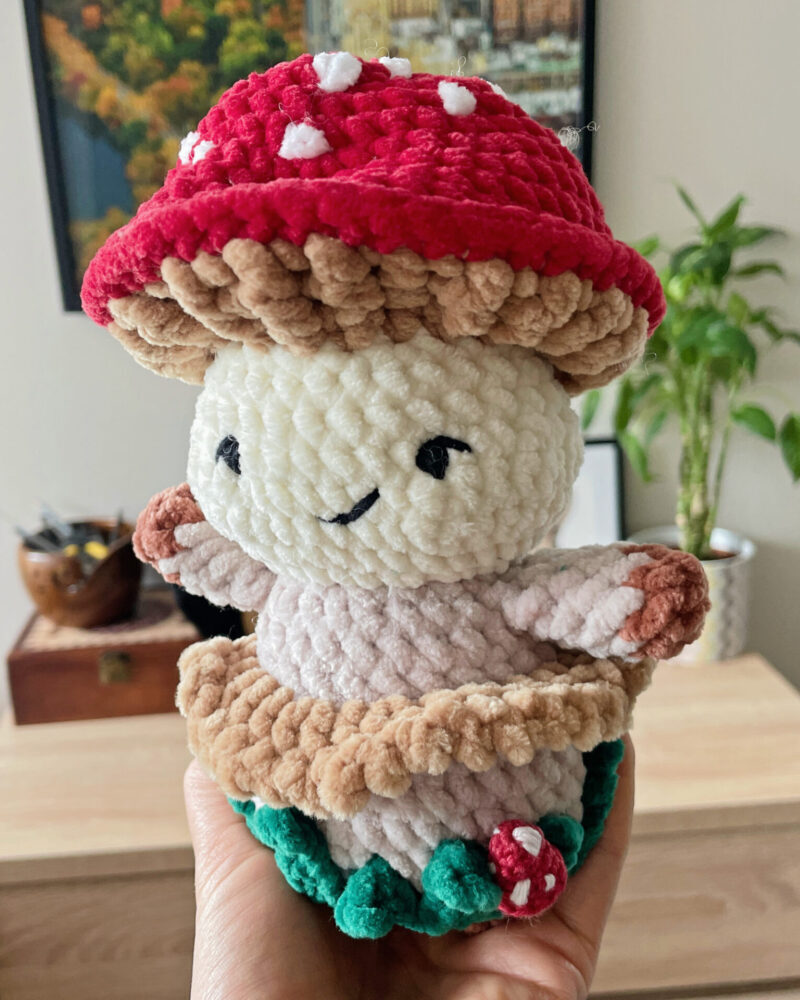
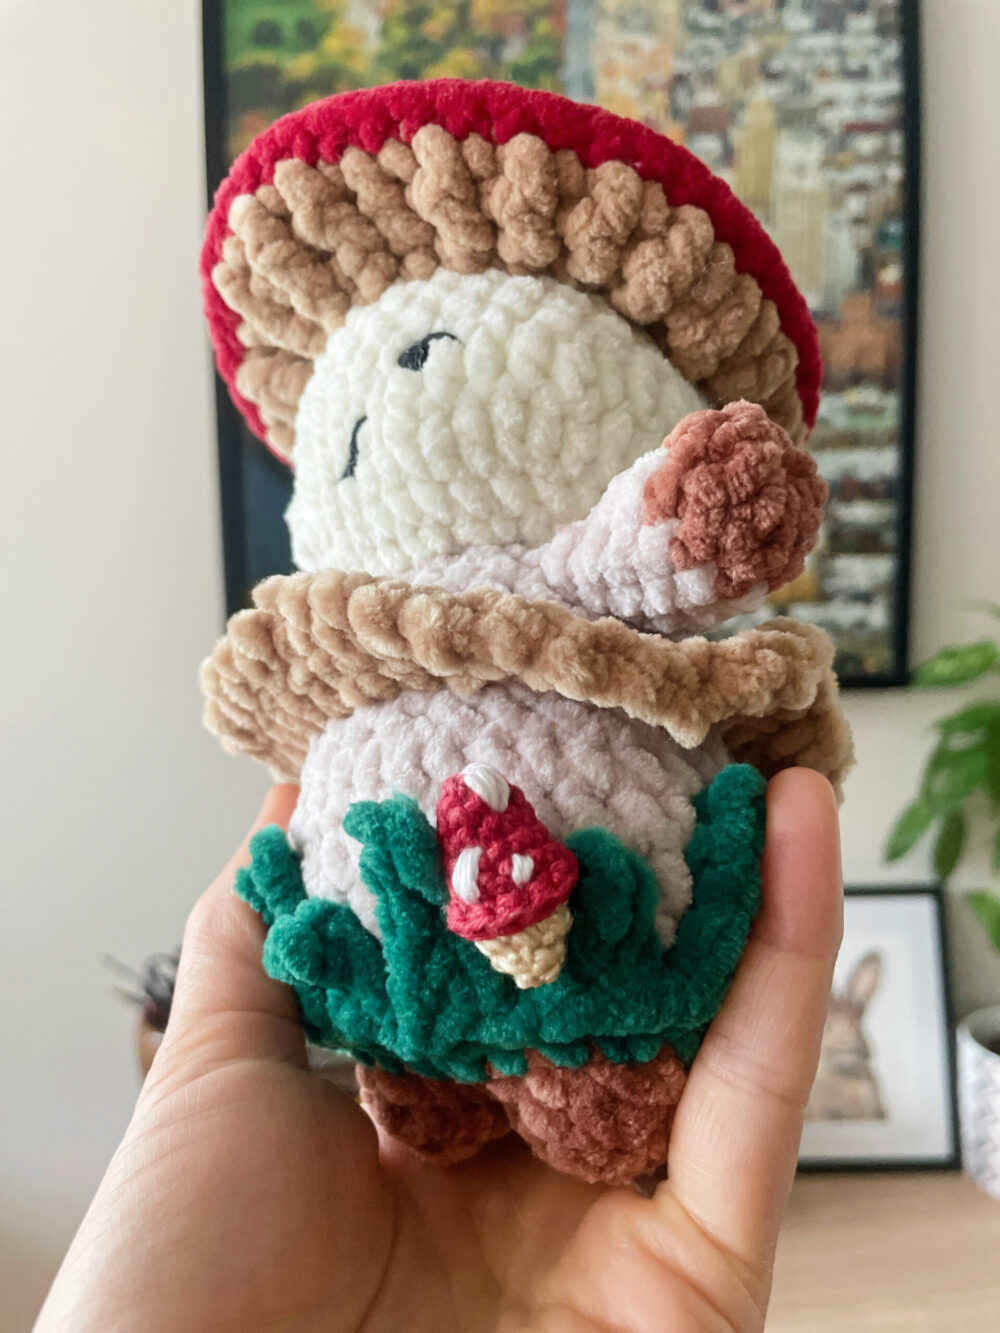
The arms, legs, and body worked up in the usual, easy way, followed by the head and finally the cap. The good news is that there’s hardly any sewing involved (though, let’s be honest, no pattern is ever completely sewing-free). Wherever possible, the designer cleverly joined the parts directly with yarn instead of sewing them on. What I found especially interesting was how the details were built in as you go, rather than added after finishing the body. My biggest challenge wasn’t the crocheting itself (although the gill sections definitely made me sweat!) but the assembly. I loved that the cap didn’t need to be sewn onto the gills, but the stuffing really challenged me. The designer emphasizes that the figure should be stuffed very lightly—something I struggle with, since I almost always overstuff my amigurumi. After a bit of un-stuffing and a few extra stitches, though, my Mushroom Pixie turned out super sweet.
At the end of the pattern, the designer includes step-by-step photos showing how to create the adorable little face (she used safety eyes). There’s also a bonus tiny mushroom pattern made with thin yarn, which can be attached to the pixie’s grass skirt as decoration.
All in all, I really enjoyed this pattern. The finished pixie is super sweet, and what I especially loved this time was how quickly it came together. If you like the Mushroom Pixie too, check out Irissesile’s pages and grab this pattern—along with her other adorable designs!


