
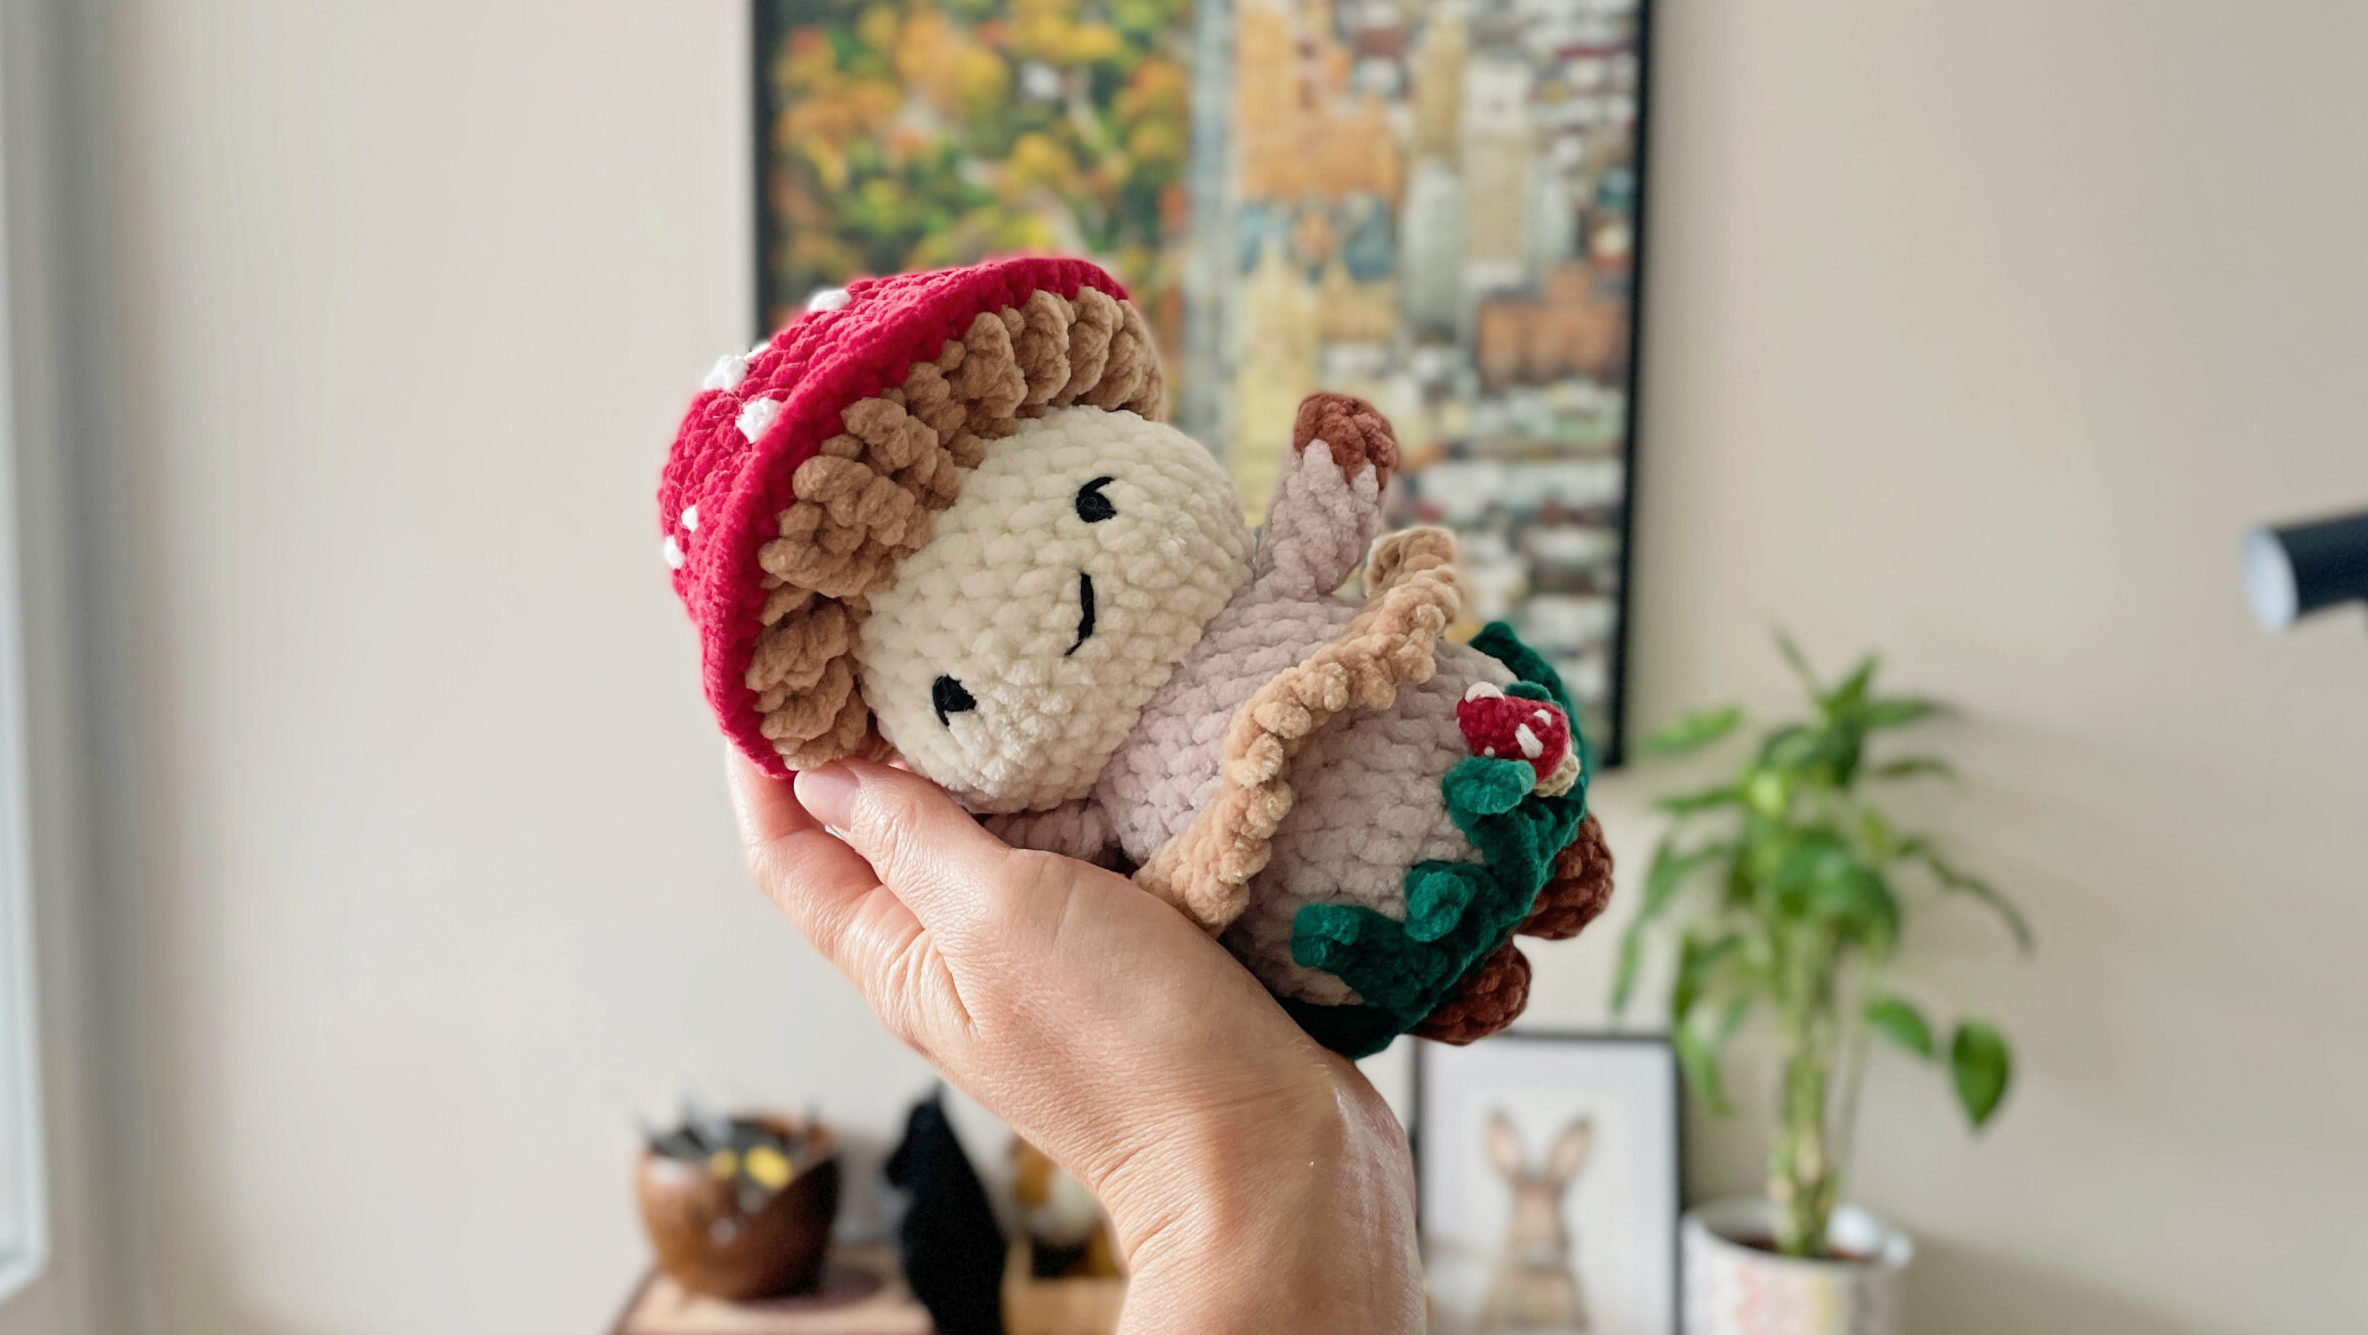
With the arrival of a new season, the previous door decoration at the entrance of many homes is replaced by a decoration more suitable for the season. The door of our home used to be decorated with a beautiful winter wreath made by my sister. However, when it lost its relevance, I put it away for the next season, so our front door has been waiting to be decorated again with a beautiful knocker. As I have observed in many homes, the entrances are decorated with different door knockers depending on the season, so I also decided that I would like to equip the entrance of our home with a different door decoration in each season. For the pleasure of this, today I brought you a door knocker with a crochet decoration as a DIY idea. In this article, I will show you step by step how I made this simple but really showy and charming wreath, the protagonist of which is none other than Blue Yarn Crochet Poppy Doll.

Photo: Own (Rebeka Novák-Szabó ev)
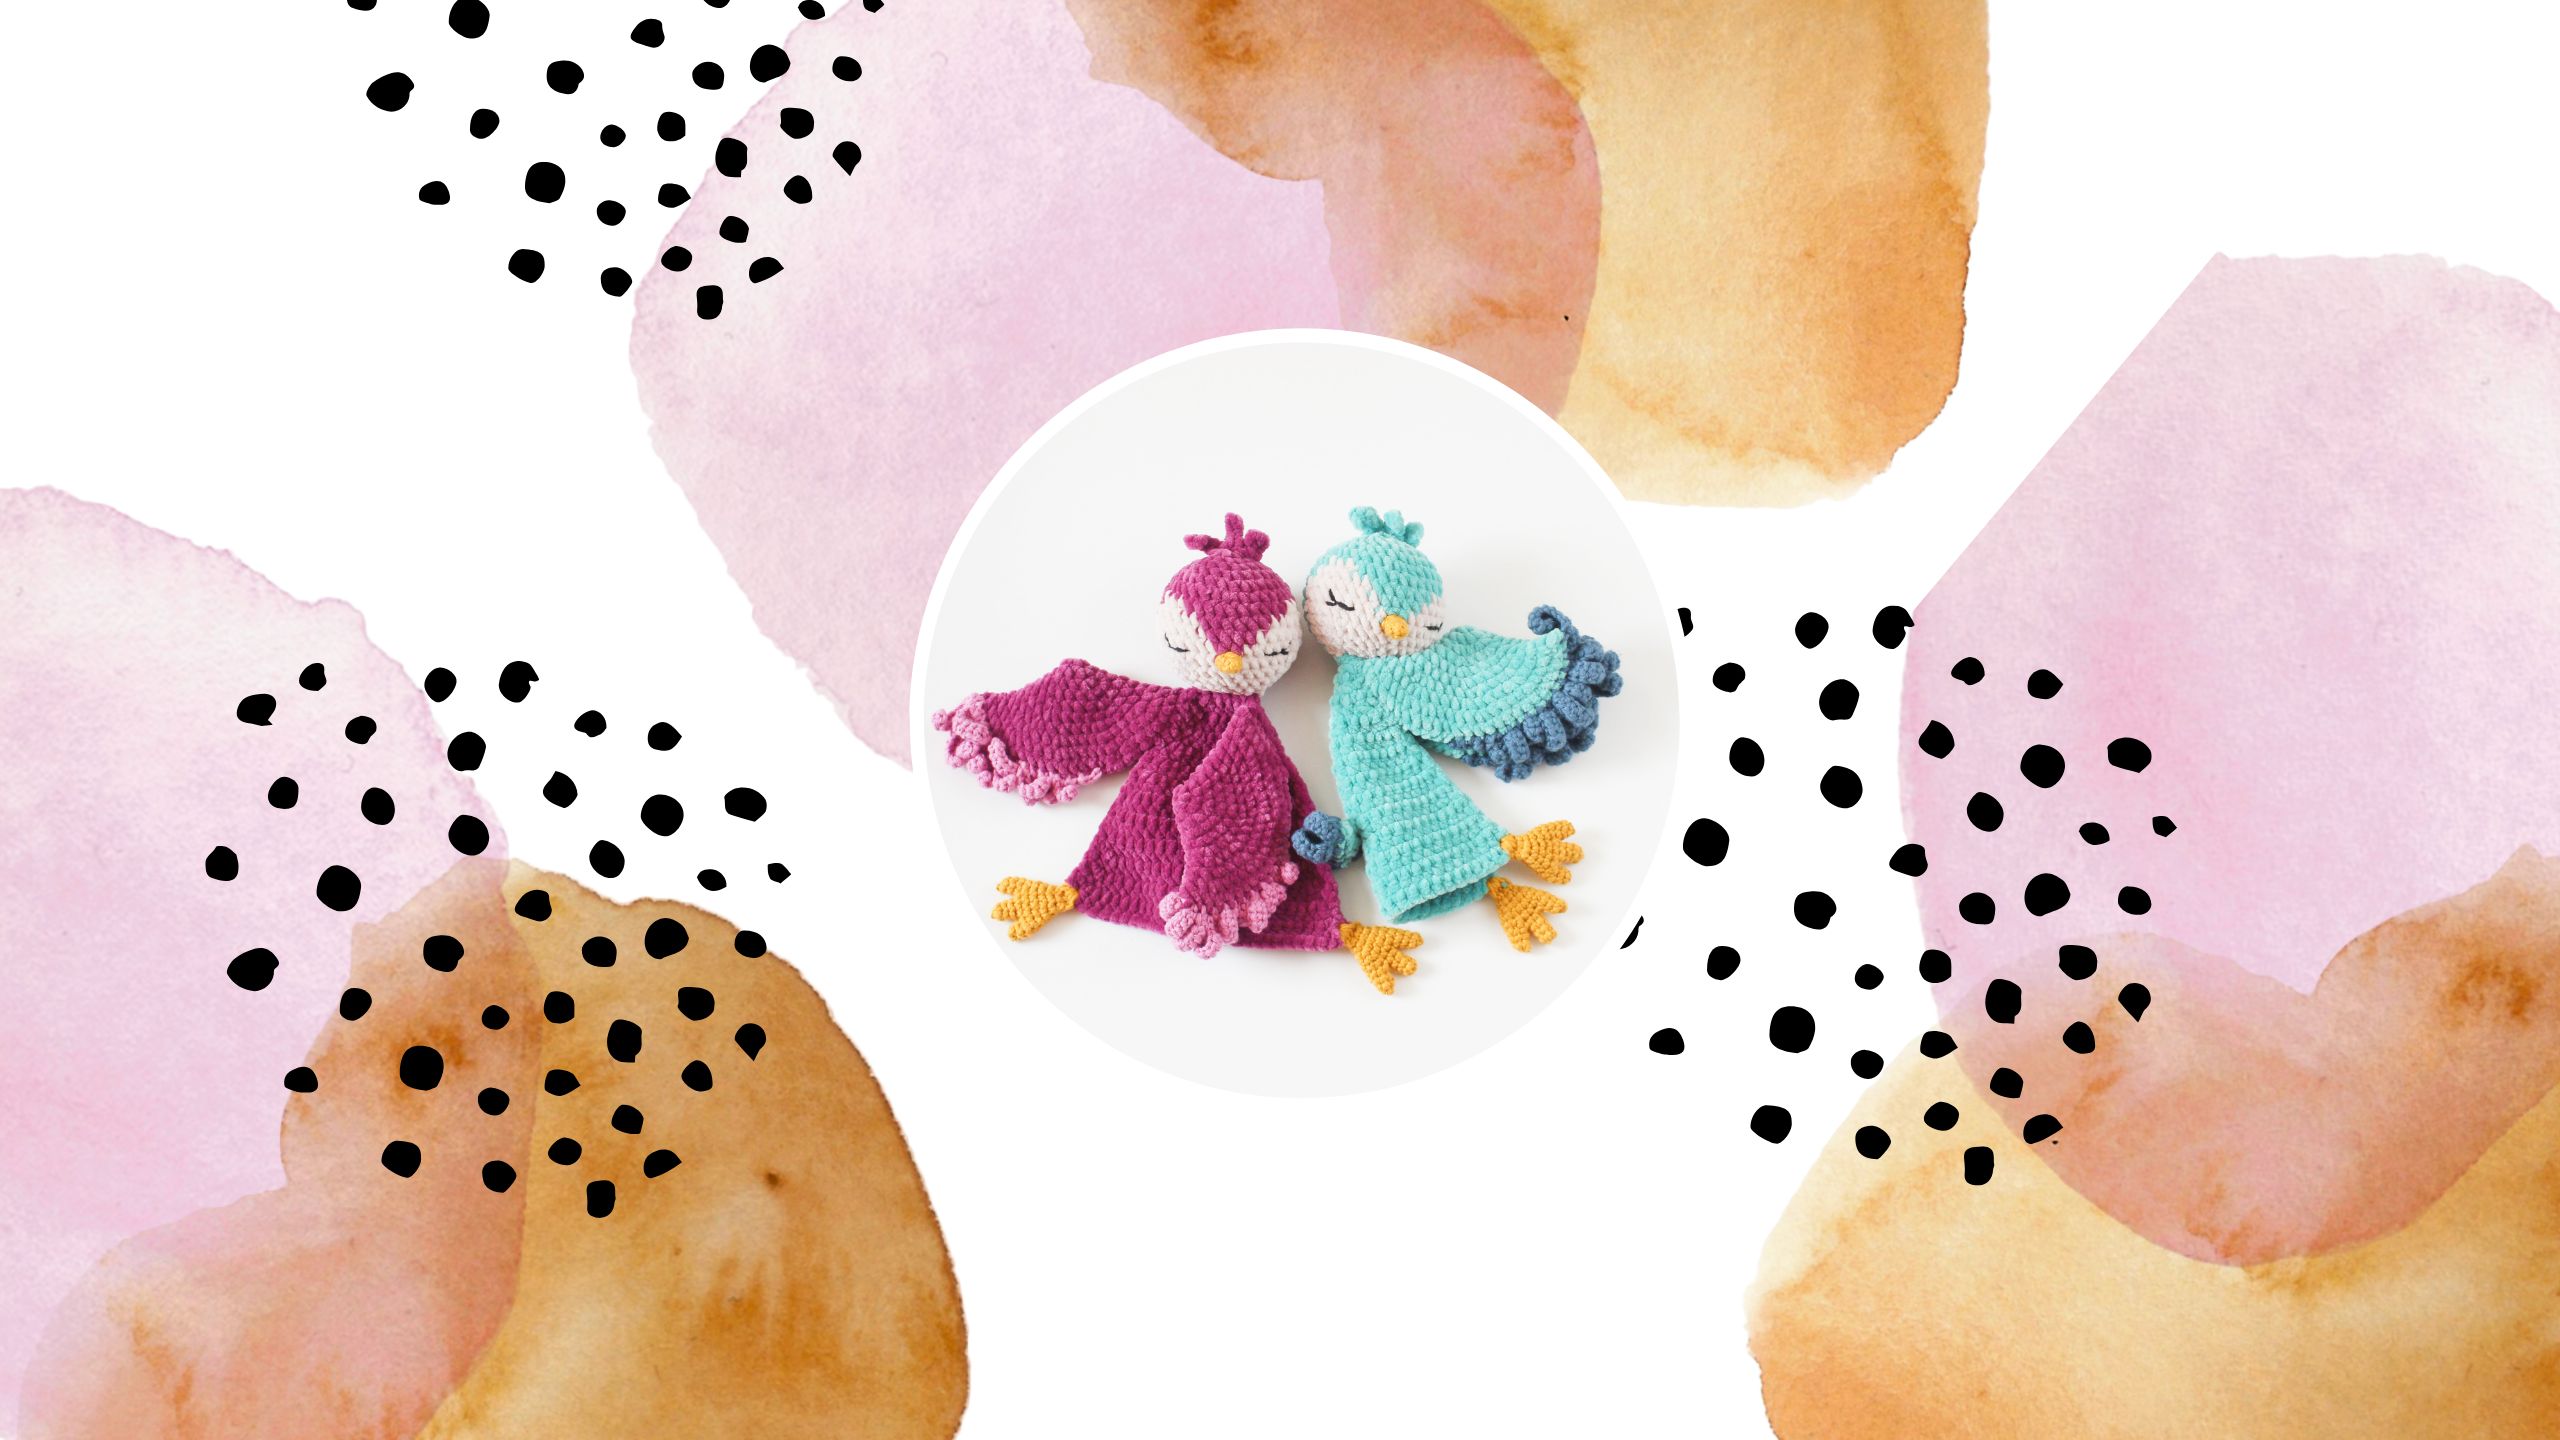
Eniko (the designer) I really liked your poppy doll and I immediately saw this door decoration, which I was lucky enough to make this week. It was a long road from the idea to the realization, but I think it was worth the wait! When someone says poppies, I immediately think of wheat nodding at the blonde. As children, we used to walk through the forest and field a lot, and our path always led us past a field of wheat. We liked to pick wildflowers next to the wheat fields, as a child, cornflowers were one of my favorites for a long time. Next to the fields, we usually found poppies. We unwrapped the still budding poppies one by one and guessed what color each one would have. It was a good bit of fun as a child, while we spent our days in the fresh air and nature. These childhood memories also inspired this wreath. I can say that it turned out exactly as I imagined. I would have liked this very cheerful Poppy baby to end on the lower part of the wreath, on the ears, and then the upper part to contrast with it. With this concept, the main character of the creation is fully in the center: the crochet ornament.
Raw materials
First, I had to get the materials for my wreath. The project I bought the first part of the Poppy Doll Pattern Blue Yarn Crochet Etsy in his shop, then I made the figure based on the description. After that, I dug out my Christmas DIY box, from which I picked up this straw wreath foundation, and for placing Advent candles candle wick. My glue gun was also found along with the glue cartridges. What I had to get extra for the project that decor bandage material, a subtitle to the wreath, and the ears of wheat. If you don't have a dear friend who can spare you one with a bunch of wheat ears, then it's worth looking online can be used for preserved, decorative purposes copies. In my own wreath, I used the natural fit version, so I'm a bit worried about whether my wreath will last the summer and I plan to make it through the next few years. My 5mm macrame yarn was not used in the end. I put it aside for the emergency situation in case there wasn't enough wheat, but luckily I had just enough at my disposal!
So the ingredients are listed:
- 1 poppy doll (crocheted based on the Blue Yarn Crochet pattern)
- 1 straw wreath
- 1 candle stick (candle holder)
- 1 bundle of decor ties (mine was 150 m long, I didn't use them all)
- 1 bunch of wheat ears
- glue gun and 1 stick of glue
Preparation
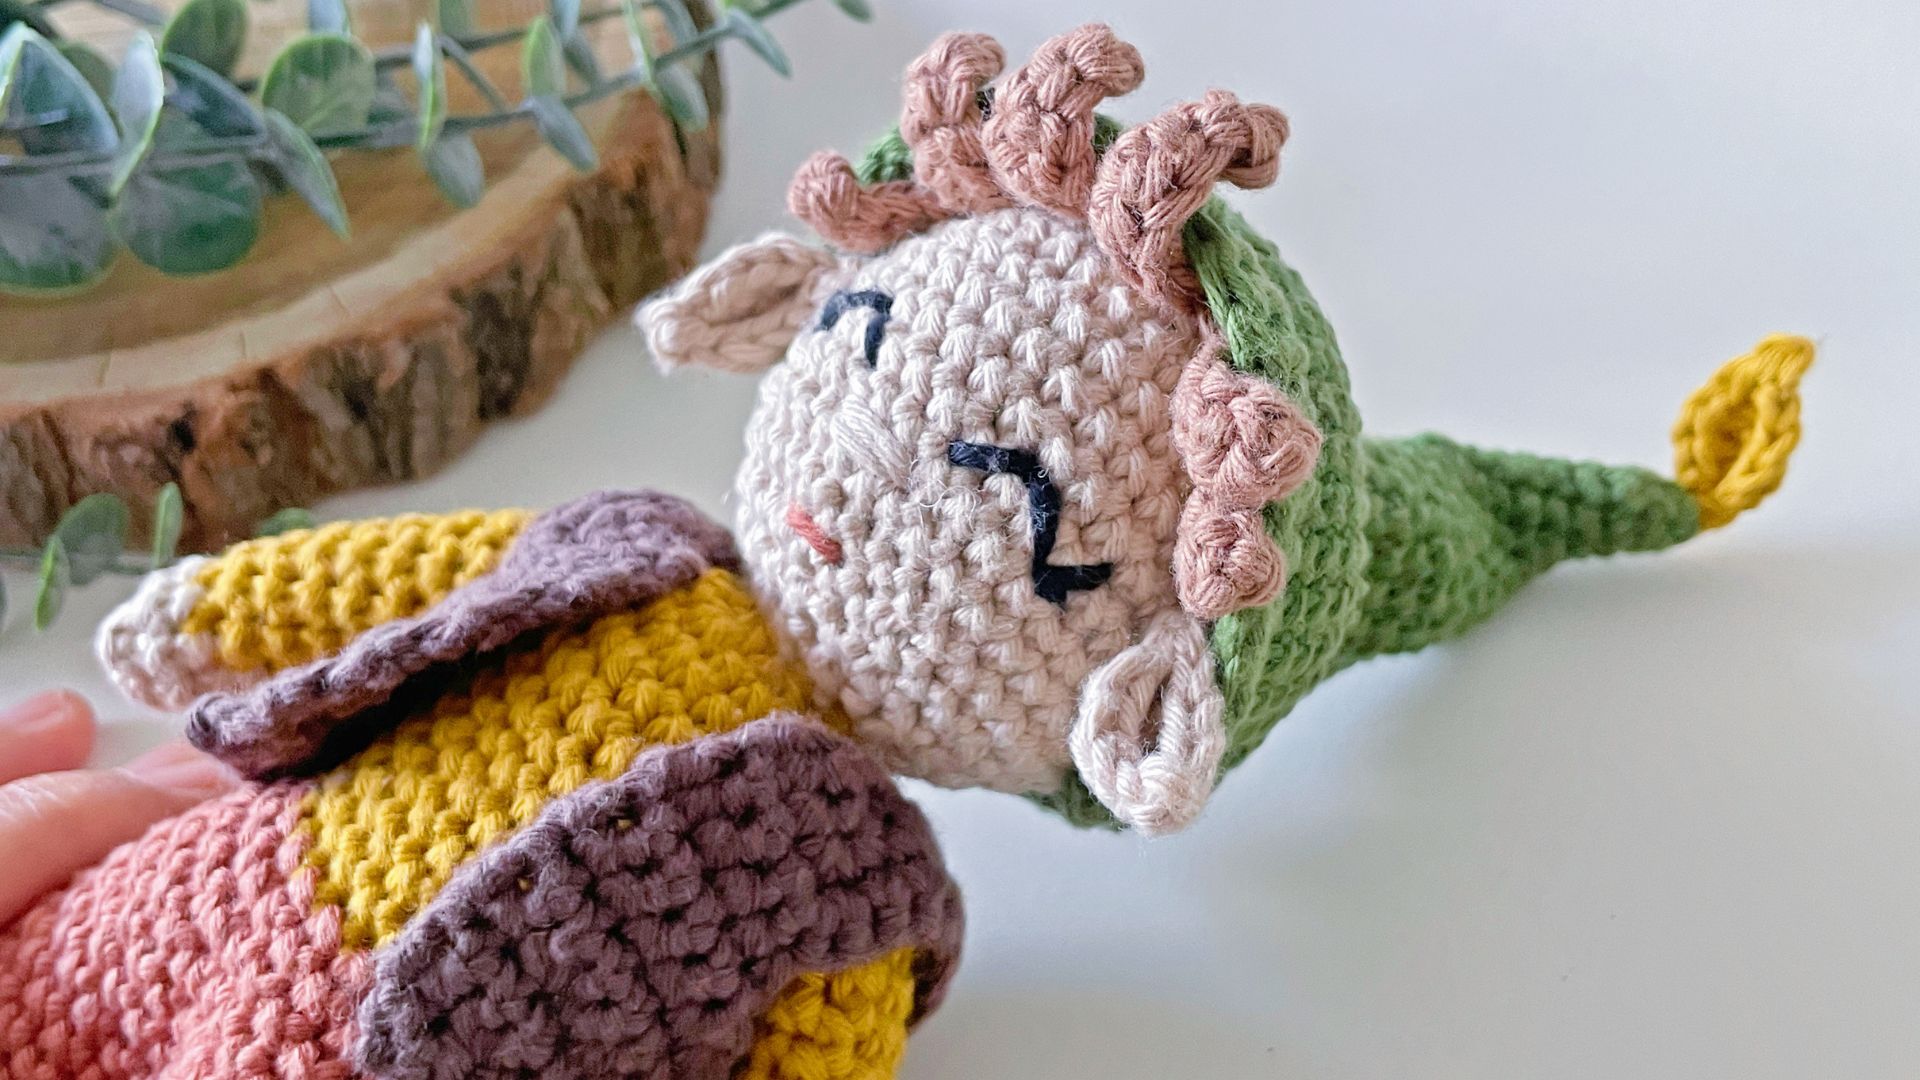
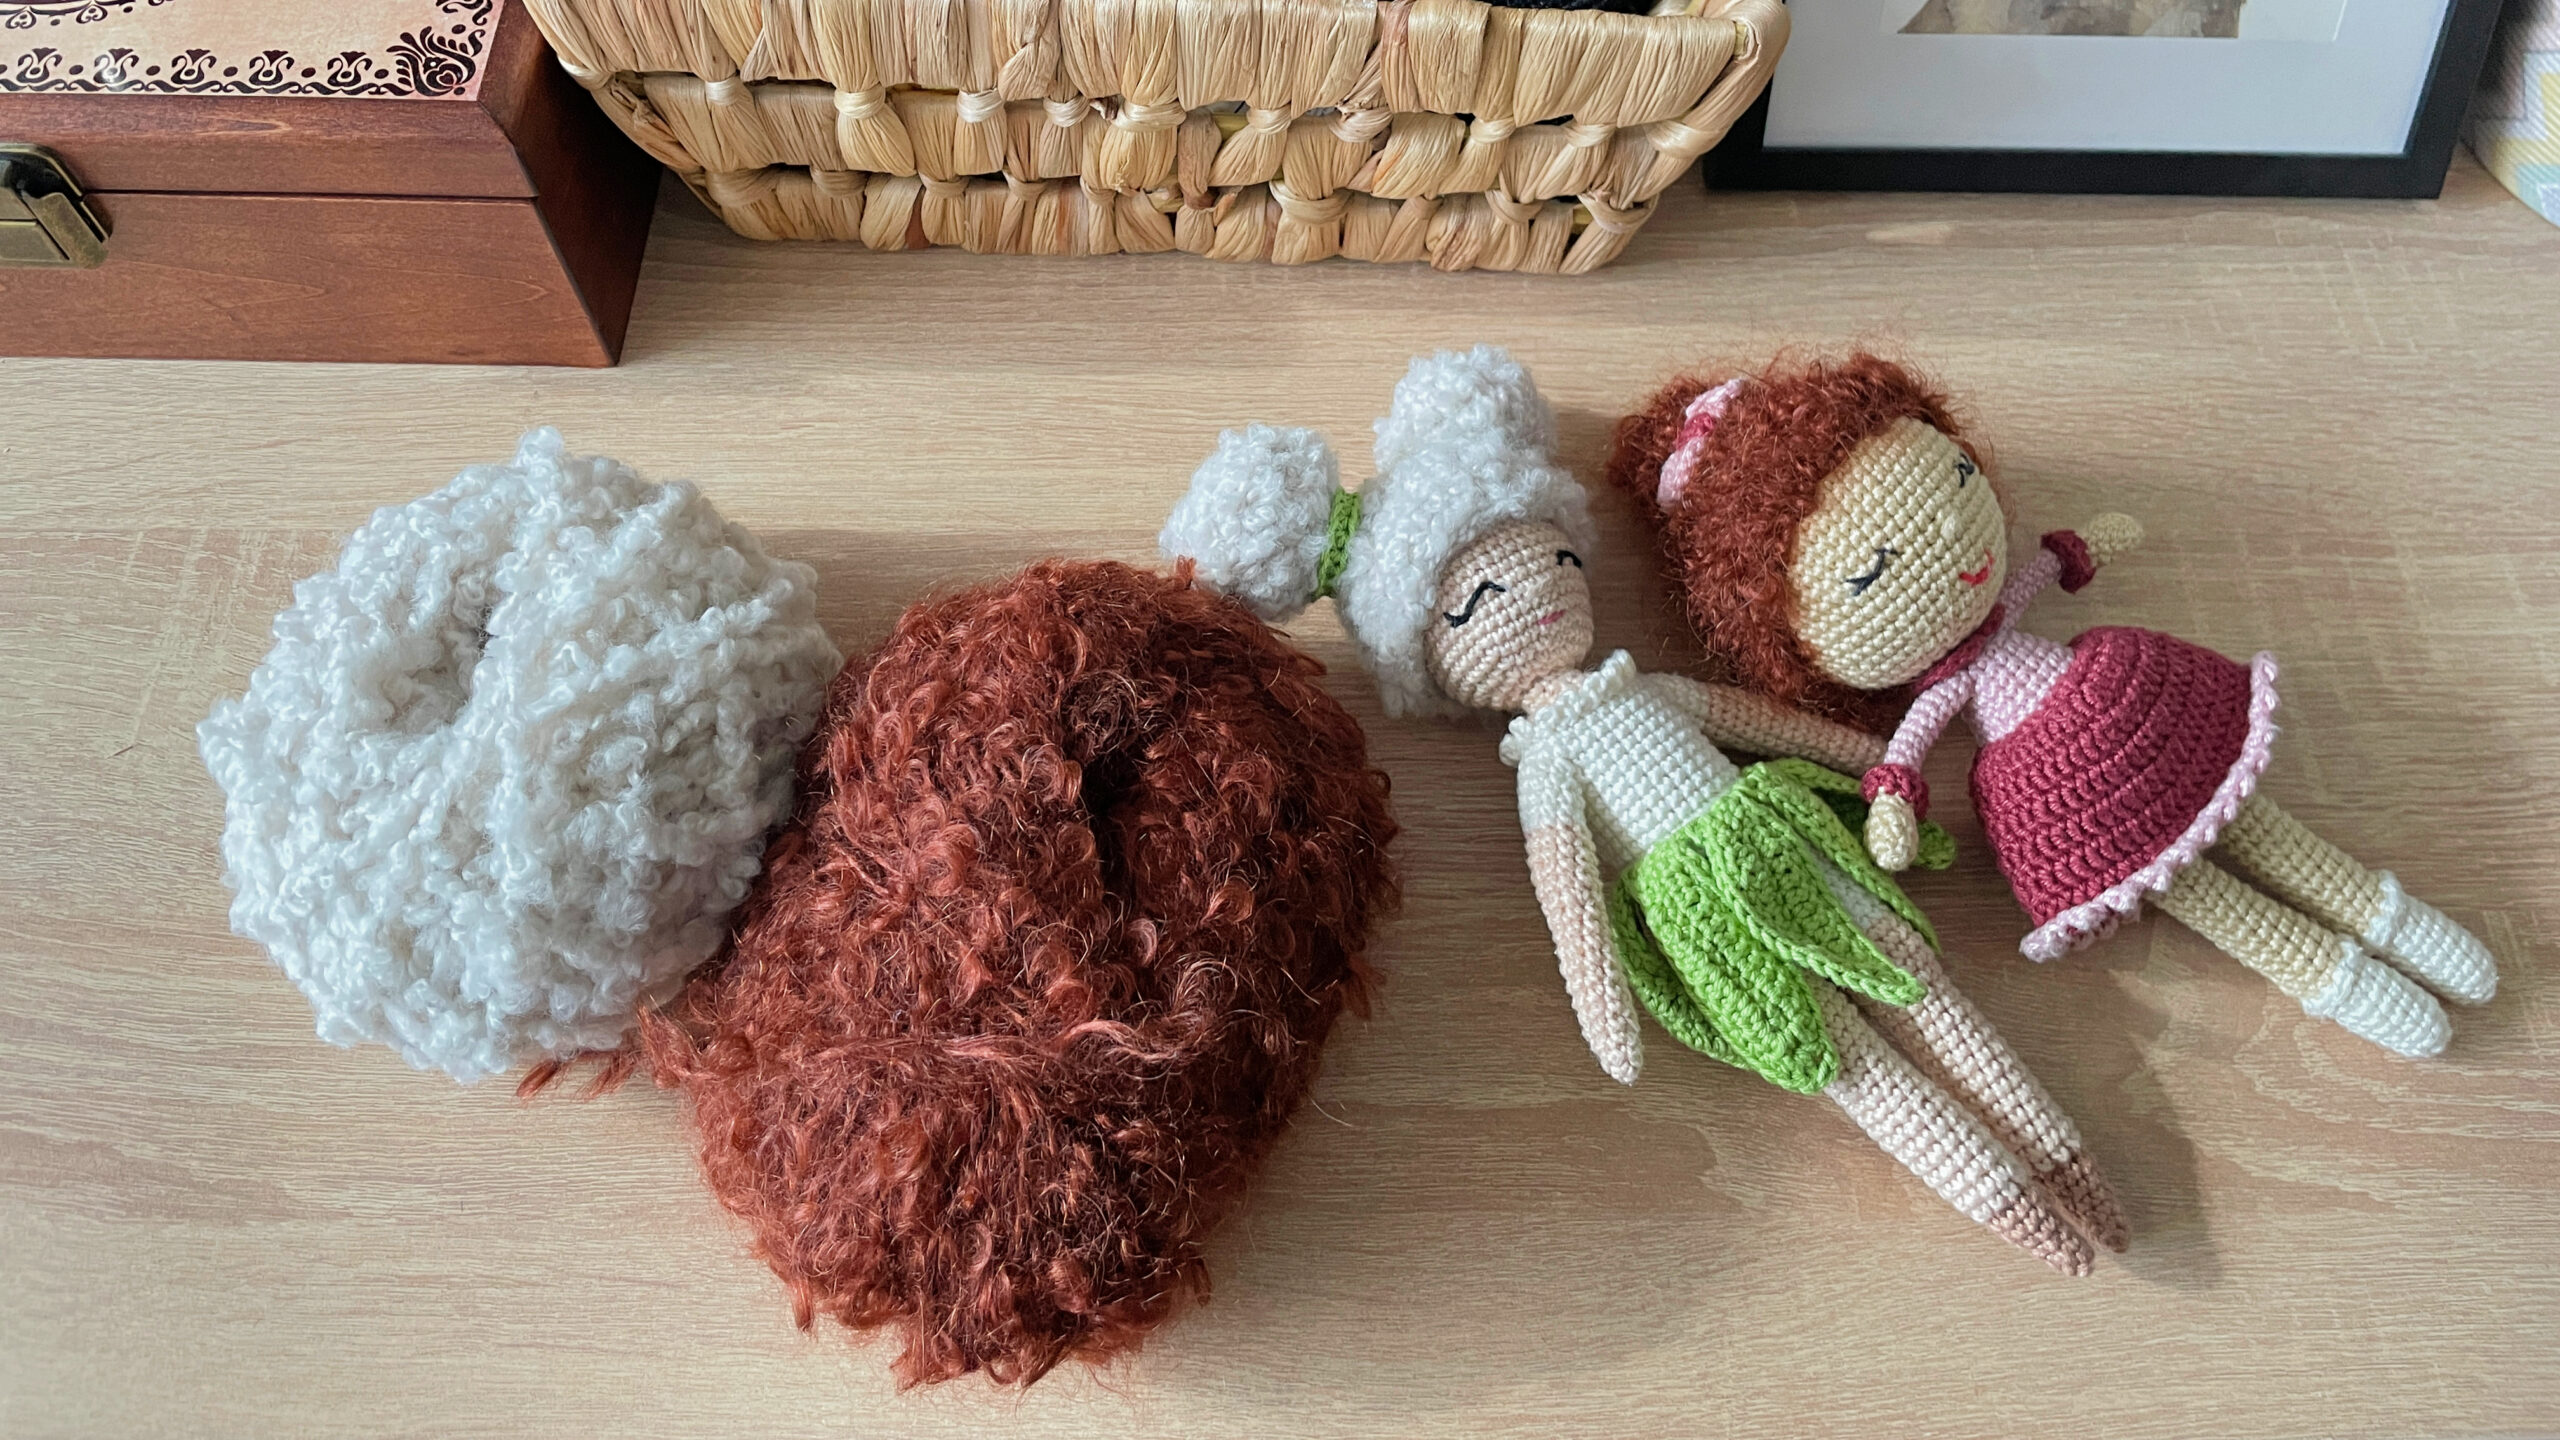
As a first step, make the crochet Poppy doll. Of course, if you want to put a different figure in the middle of your knocker, then make your own based on the selected pattern. Blue Yarn Crochet's crochet pattern was very easy to follow, simple and quick to make, so it was an ideal choice for this purpose. I liked the design of the doll's skirt in the pattern the best, as well as the making of the limbs. At first glance, I thought that Enikő used wire for her hair, so that her braids stopped on Pippi, who is so stocky, but when I made them, I realized that the braids can be adjusted very well, so there is no need for extra reinforcement. The sitting figure is 10 cm, so it was a great choice for the knocker. The legs add an extra 7 cm, but they still hang over the spikes, so they weren't authoritative from that point of view. By the way, I note that I think a perfect wreath can also be made from seasonal fairies designed by Enikő! Last year the I was lucky enough to make a summer fairy, about which you can read my previous blog post here: Crochet pattern recommendation: Summer fairy.
Once the figure is ready, the wreath can be assembled. I lined up the raw materials and protected the table from possible adhesive accidents with a household wrapping paper. First, I attached the decor binding intended for the upper half of the wreath with the glue. I drew a short strip of glue and then started to wrap the wreath around the bandage. I tried to wrap it so that it completely covered the straw wreath base. Unfortunately, I didn't manage to execute it perfectly, so the base is visible in some places. It might have been better to watch a few videos beforehand on how to wrap a wreath nicely with yarn or twine, instead of going after my head. Nevertheless, this little beauty flaw is not disturbing, I think I will be able to live with it.
After the decorative tape was on it, I started gluing the ears of wheat one by one. If you can't get wheat or don't want to, I think a A wreath can also look good with dried toadstools, meadow flowers, and grasses. If you like to wander in nature anyway, you can easily find a suitable alternative, even for free for your own garland! For my own wreath, I only used the ears of corn, I cut off the unnecessary stems. First I started gluing it on the front of the wreath, then moving from the middle, choosing the longest ears of corn, I placed them one under the other in a row. When the front was finished, I turned it over and attached the ears one after the other to the back. I wasn't sure if it would be enough for the whole wreath, maybe it wouldn't have been absolutely necessary to stick ears of corn on the back. Finally, I glued the remaining ears of corn to the inside of the wreath, leaving a small space in the middle where I wanted to place the crocheted doll.
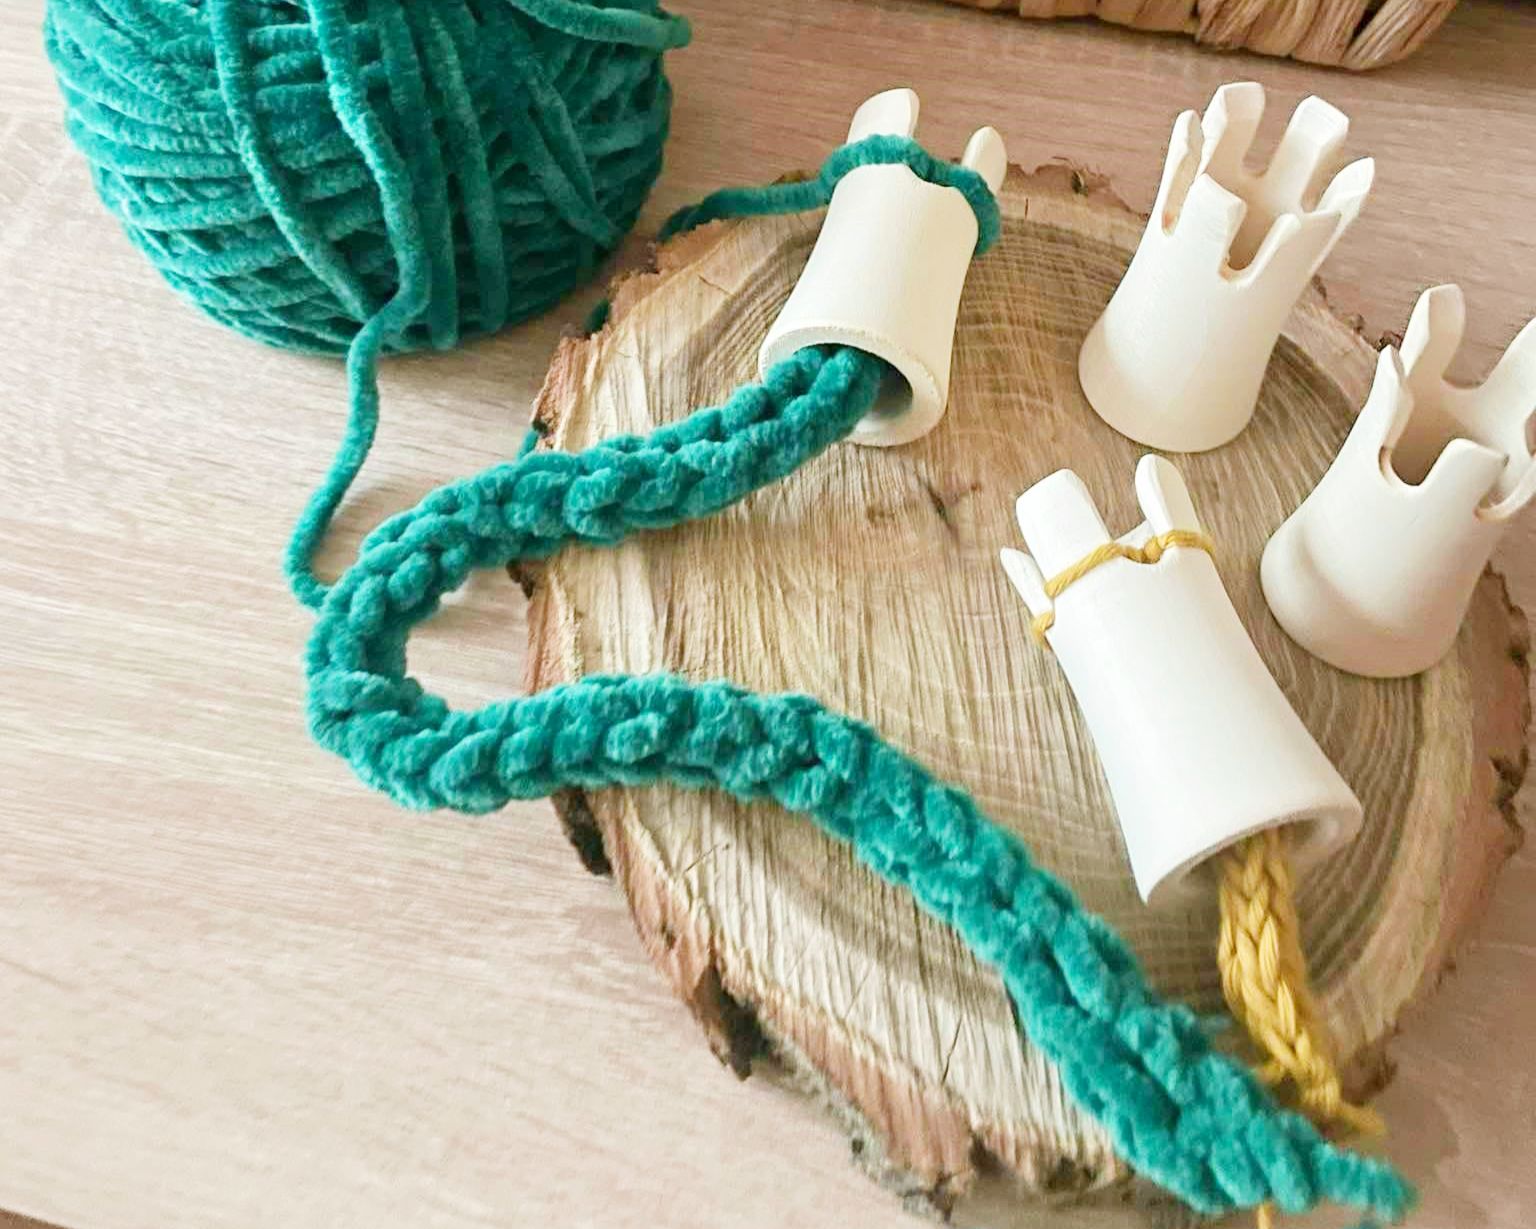
We are at this point beyond the difficult part, from here all that remains is to pierce the doll, glue the inscription and make the hanger. THE I cut the disc of the candlestick square, so that I can fit it inside the wreath and not stand apart from it. Then I put the maiden on it. To attach the figure, I looked for the closing row on the lower half of the figure, in the middle of which I inserted the protruding pin, so that it will stably occupy its rightful place on the wreath. After the test session took place, I checked where the selected caption would fit. Since I was not satisfied with my own inscription (even during purchase) in 100%, so I made some modifications. I took off the summer inscription, then sanded the place of removal with a wide nail file. After that, I painted it black with a felt, as I think this color suits the mood of the wreath better. Maybe next time I find a more fitting inscription, it will be replaced by the current one. Finally, I made a hanger with the help of the decor binder, which I could use to put this super, hand-made door decoration on our door.


